Living Room Wall Art

One thing I am really bad about is actually adding wall art and décor to rooms once they are finished. We’ve lived in our house for a year and a half and I only have one thing hanging on the wall in the ENTIRE HOUSE (and that only went up in the fall)! It just seems to be the last thing I get to. All of our pictures from our old house are literally still in boxes from the move.
That brings me to this project. I originally was thinking about a Valentine’s project to complete with the kids, but the more I thought about it, we don’t decorate for Valentine’s Day, so I didn’t want something that was just going to end up being tossed or put in another box to store. At the same time, I kept looking at the walls and thinking I had to get something up so it looked like we actually lived there!
Now, I like a lot of the farmhouse signs you can buy at home décor stores, but like most things, I just never buy it. Usually, I think ‘I can make that’, but then other projects come up and it never happens. Well, this time, it got done!
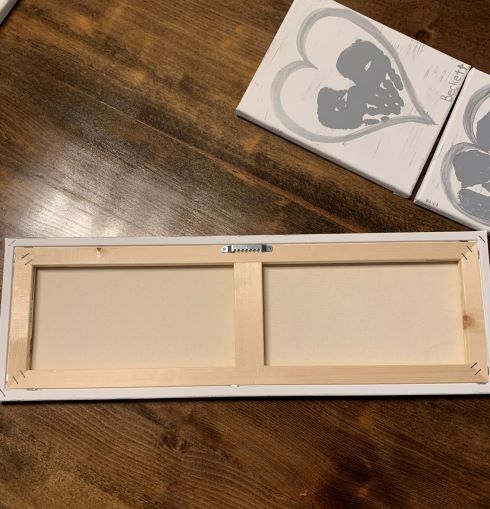
I first went to Ross and picked up a 6 pack of 8×10 canvases for $8. They didn’t have any larger ones, so I went to Joann’s to see what they had. I ended up with 3 8×24 canvases. And, bonus, they were ON SALE for just over $5 each!
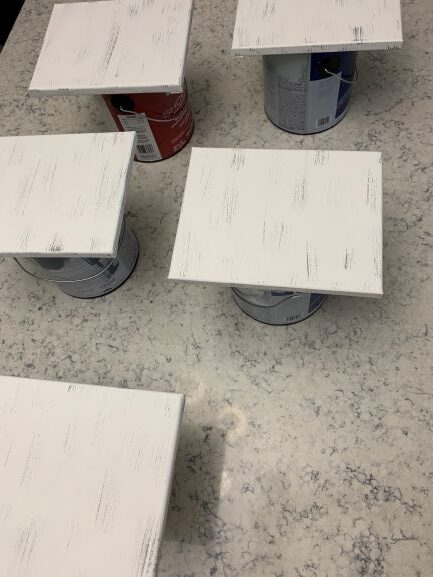
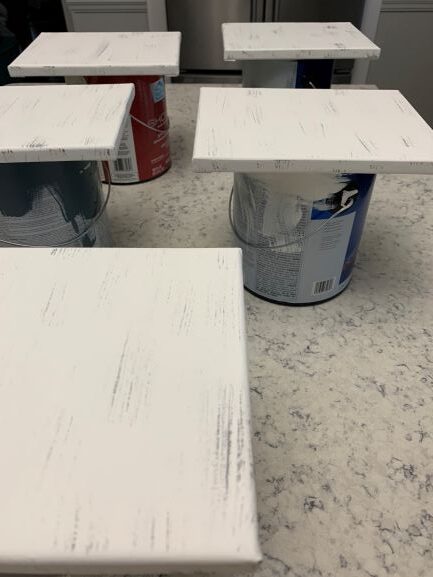
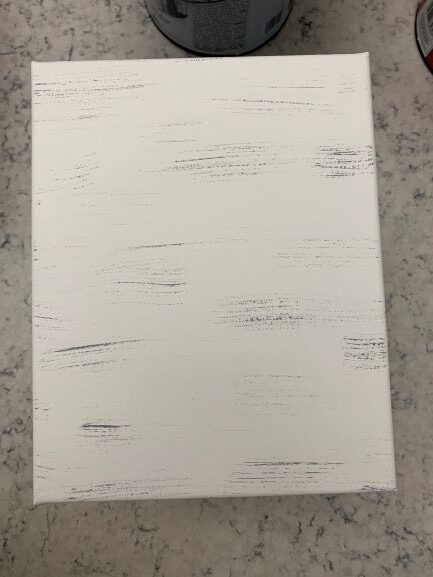
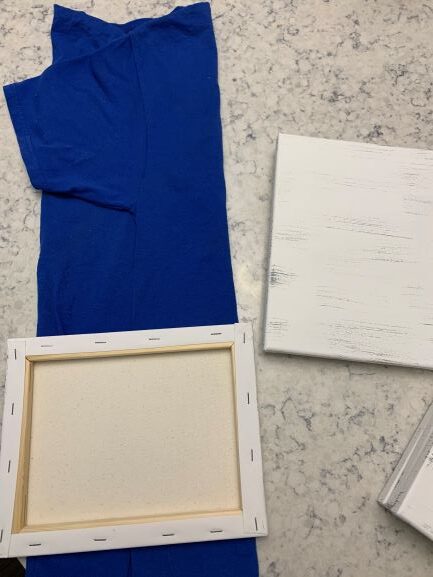
First, I laid all the small canvases out to paint and gave them a good coat of solid white.
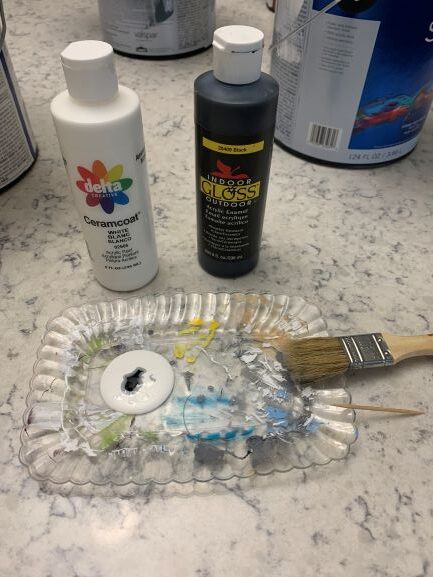
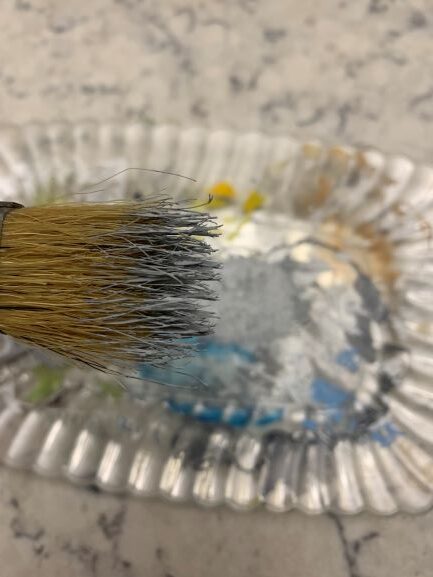
Then, I mixed up a grey and dipping just a small amount and dabbing most of it off, I dry brushed the grey to give the background some texture and the farmhouse/wood look I wanted.
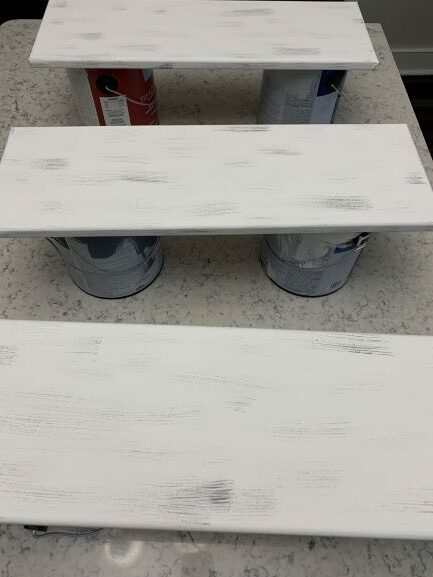
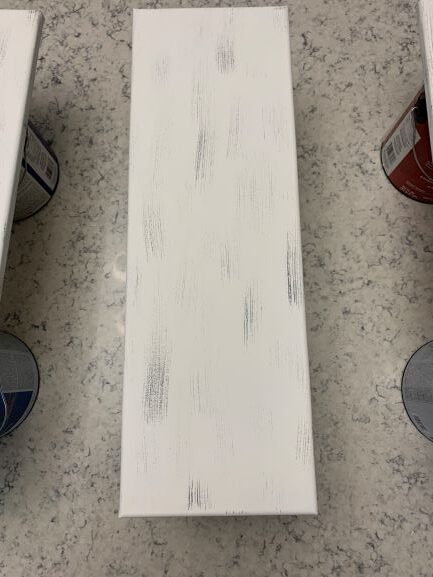
Once the small ones were complete, I moved on to the large ones. If you have room to do them all at once, great, but I was using the kitchen island, so one group at a time:)
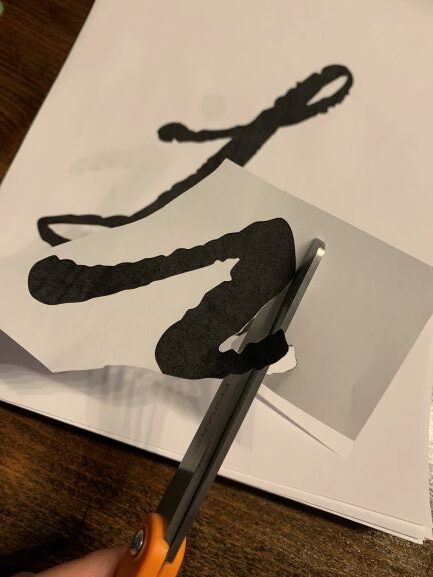
The next step was to find a font I liked to print and cut out to trace from Microsoft Word. I went with Rage Italic. I knew the height of the entire canvas was 8 inches and I wanted roughly an inch on the top and bottom, so I ended up with a 615 size font. I had to print each letter on a separate page, then, I cut them out to place and trace on the canvases. I did cheat a little when it came to repetitive letters (like the ‘L’ and the ‘e’) and only cut one out of each of those.
I laid each letter on the canvas and spaced them out, checking to make sure there was the same amount of space on both sides, from the bottom, etc., so they were all evenly spaced. Then, I took a small piece of tape to hold them in place.
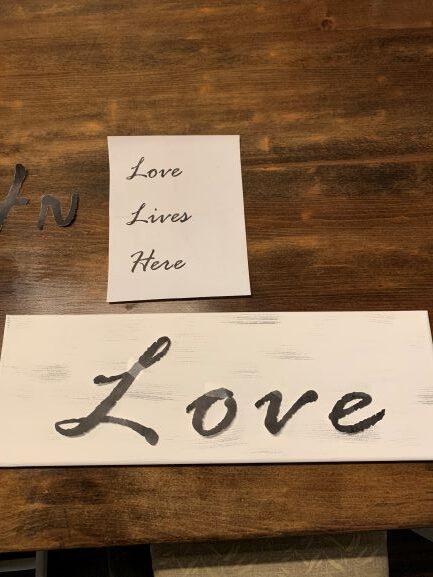
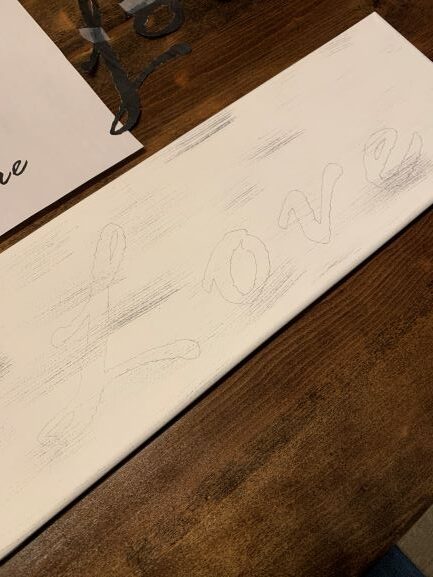
Next, I just lightly traced around all the letters with a pencil.
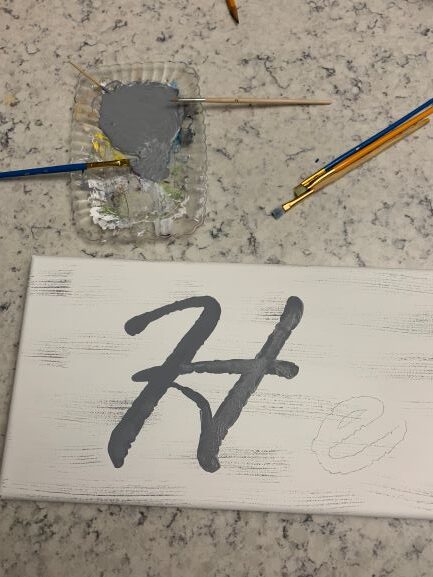
Once all the letters were traced, I mixed up some grey paint and used a small pointed brush and a small flat brush to add the paint to the letters. I did have to go back after the letters dried and touch up some white areas that didn’t fill in well on the first round. But, it dries fairly quick, so by the time I finished the last letter, I could go back and touch up the first few letters.
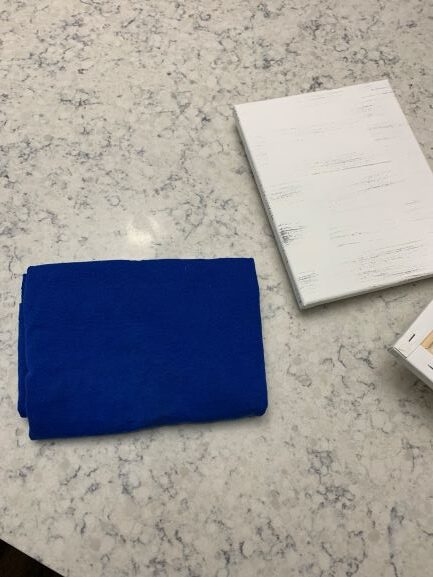
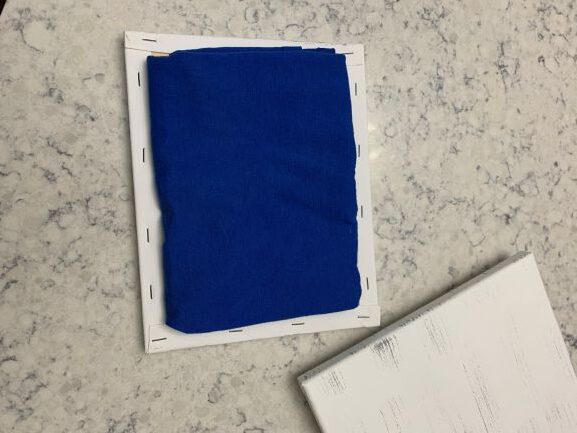
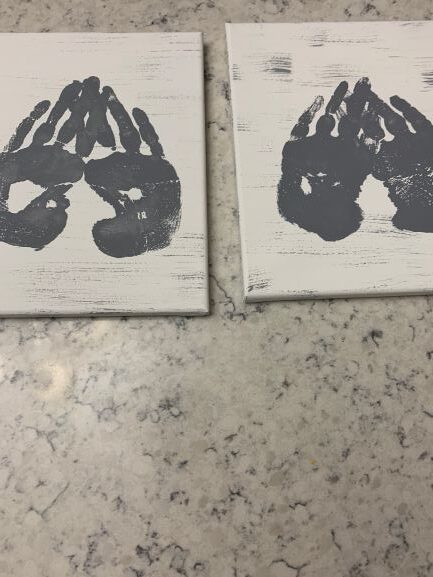
For the hand prints, I realized that if we just placed our hands on the canvas with nothing underneath, the pressure would sink the canvas and not leave a good print, so, I got an old shirt and folded it to fit inside the wood frame of the canvas from the back.
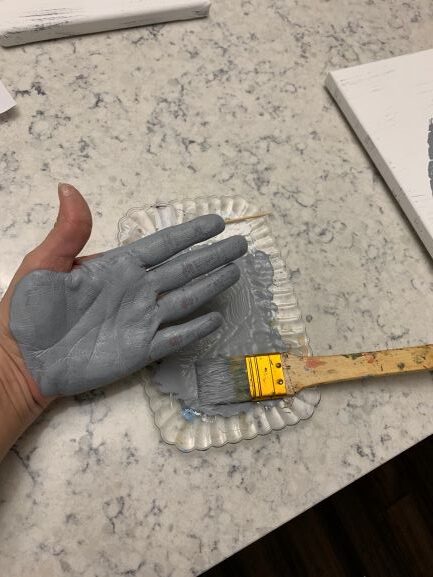
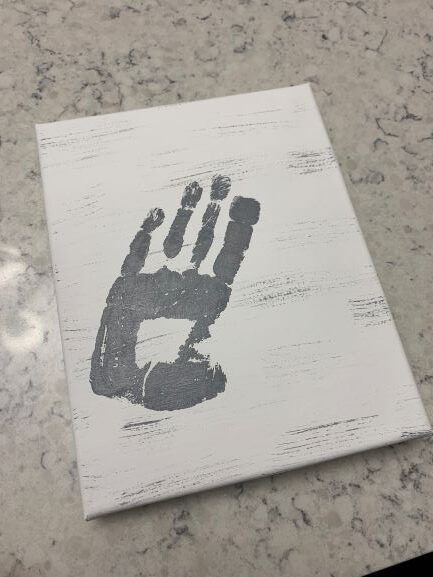
I mixed up some grey paint and painted one hand at a time, from the palm to the tip of the fingers, leaving out the thumb. I placed their hands down at an angle (fingertips pointing to the center) one at a time, fingertips overlapping on the canvas to make the basic ‘heart’ shape.
Now, because 3 of us would have very similar size hand prints, before I painted their hands, I wrote the names on the back of the canvas so I would know who was who later:)
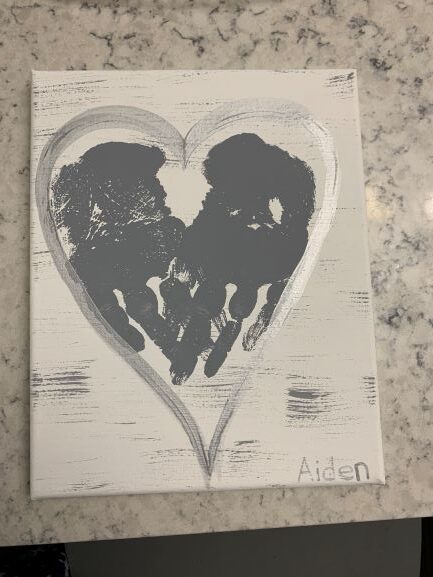
Once the prints were dry, I wasn’t quite thrilled with just the prints. It didn’t seem to have a good ‘heart’ shape to it like I thought it would, so, I decided to add a silver heart around each one. I just used a silver paint and a wider, flat brush, starting at the center with the brush placed lengthwise at the center of the top of the heart, I made the shape. Now, the silver paint doesn’t go on very thick, so I did go back over in a few spots to add some deeper color and give it better shape for those that didn’t look the best.
The last step in completing the small canvases was to add the names at the bottom. I just used a silver paint pen to add the names, starting at the far right bottom corner and adding each letter working my way to the left (basically writing the names backwards).
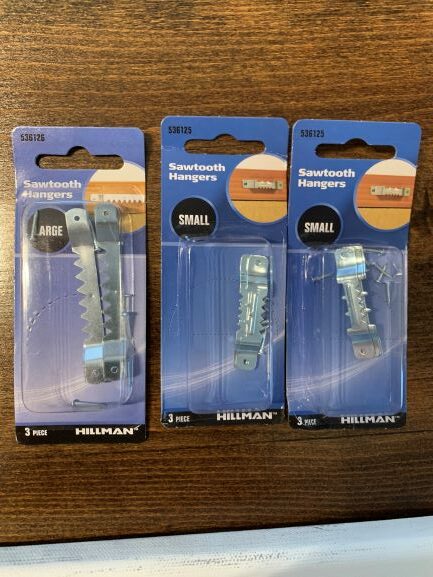
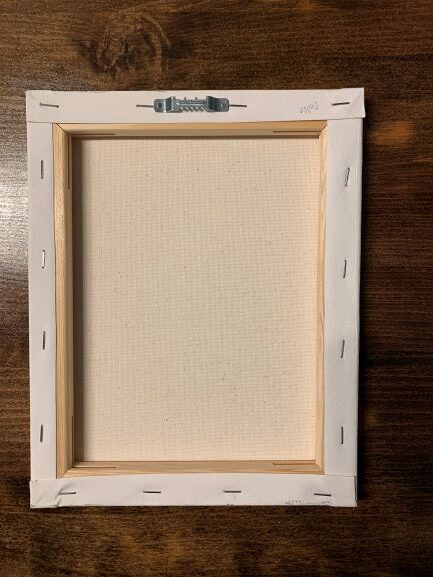
To hang them, I used the saw tooth hangers. The pack comes with small nails to attach them, so just center and tack them in.
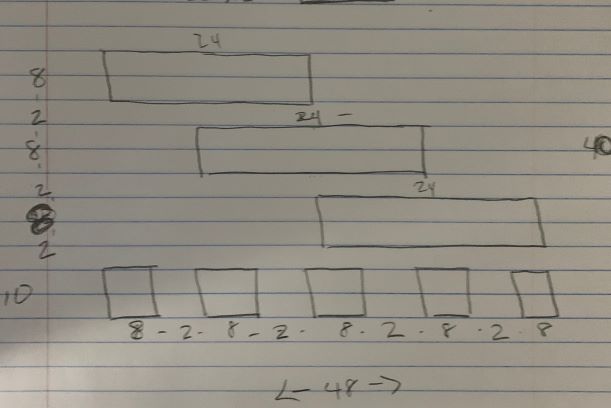
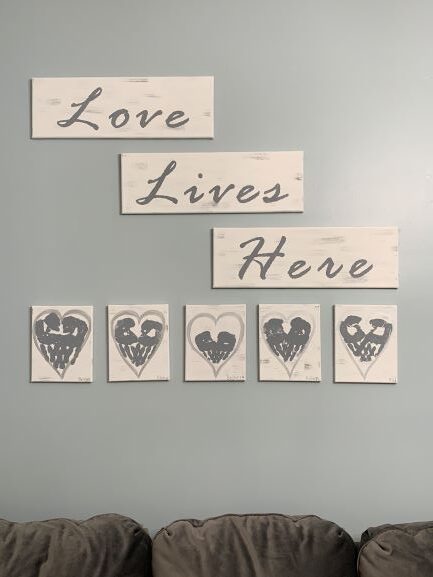
When it came to placing the entire grouping on the wall, I knew I wanted it to take up a large area. We have fairly high ceilings, and as I mentioned, I currently had nothing on the walls at all, so the whole wall I was planning to use was pretty much fair game. I decided to place the three larger ones across and down, placing from the top left to the bottom right in a diagonal pattern. I just centered the middle one from left to right, and left two inches between the first and third ones. This worked out for the smaller ones to fit across the bottom leaving 2 inches between each as well. The entire space for the grouping was 48 inches wide and 40 inches high.
I just measured off the corner of the wall and down from the ceiling to get the general center of the wall over the couch. Then, I accounted for the placement of the saw tooth hanger (one inch down and 12 inches in) and made a small mark where each screw needed to go. Once those were hung in place, I measured down from there for the placement of the 8×10 canvases. Again, accounting for the 4 inch center of the saw tooth hanger and down 5/8 inch from the top, I marked all the holes for them.
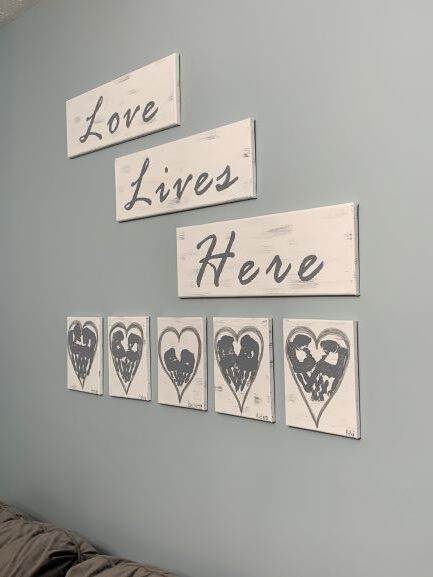
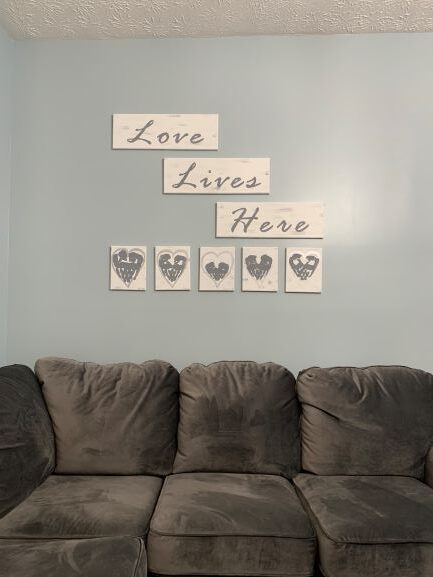
I am thrilled with how this turned out and I could see multiple variations of this general idea if you don’t have as large of a space to use, or if you just don’t want to take up a whole wall. I could even see using just one 8×24 canvas in a vertical direction and having smaller text, then placing all the hands at the bottom. Or, I could see if your family was more differentiated in their hand size placing the larger hands first, then working down in size using different shades of paint until the smallest prints were on top. I hope this project gives some ideas on how to create your own artwork that becomes a forever keepsake for your family!