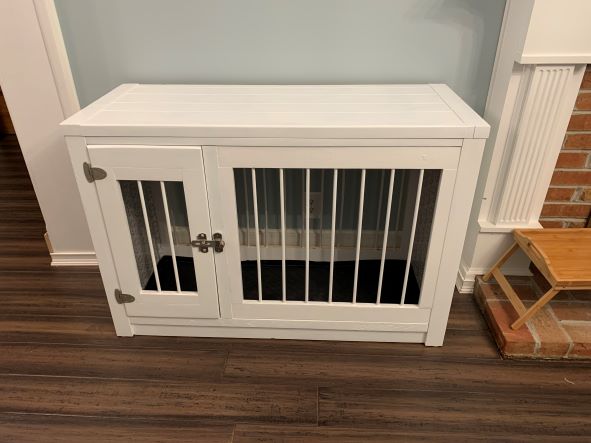
Creating a Dog Kennel out of a Dresser!
So, when we first got Luna, we had a medium sized wire kennel that worked for a while, but she was growing quickly and we needed something else! We don’t really have a space for a large wire kennel to sit and be ‘out of the way’, so I needed something that would fit in with our furniture and not look awkward in the Living Room. I really liked the Farmhouse kennels that I saw online, but they were extremely expensive! I looked at plans to build one from scratch, but then thought, if I could get a table, desk or dresser that had the right size and shape, I could adapt it to create a kennel! So, that’s what I did!
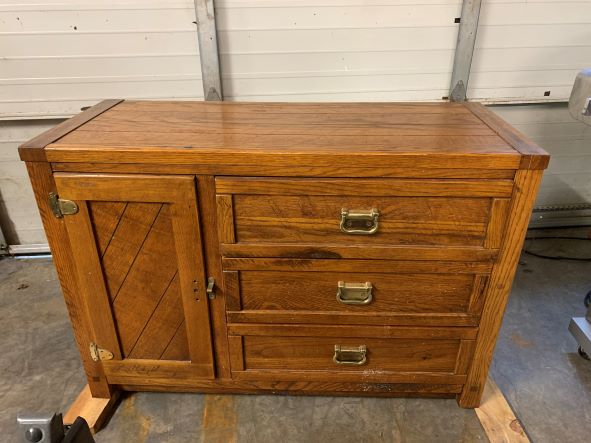
I searched Facebook marketplace for weeks and messaged a lot of people with different furniture pieces listed to make sure I had something large enough for her to stand up in, turn around and lay down comfortably! I finally found someone who had the perfect piece! It already had a door on it too!! The only downside was that she was selling it as a 3 piece set and I didn’t really need the two larger bookcase pieces. So, I messaged my mom who was looking for something in the new toy room to go on either side of the new murphy bed they were putting in and she said they would work! So, we hooked up the trailer and headed to Tennessee to pick them up!

Once we got the pieces home, and the two taller pieces delivered to my parents garage, I started disassembling the dresser to make it into a kennel.
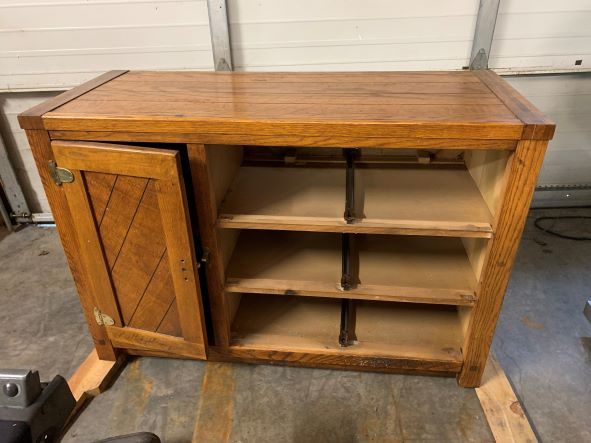
First, I removed the drawers and took off the door and removed the shelves and interior supports. I also took off the back panel so it was as open and airy as possible.
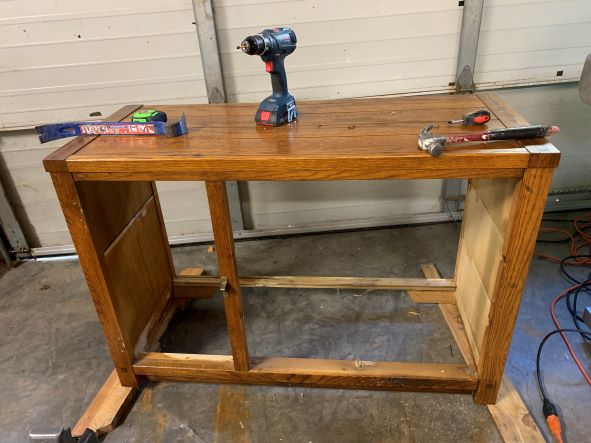
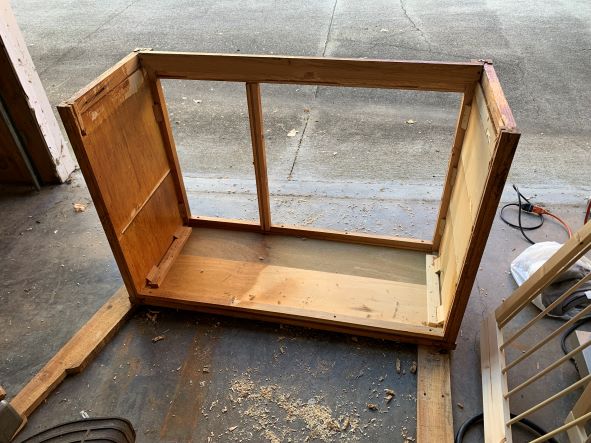
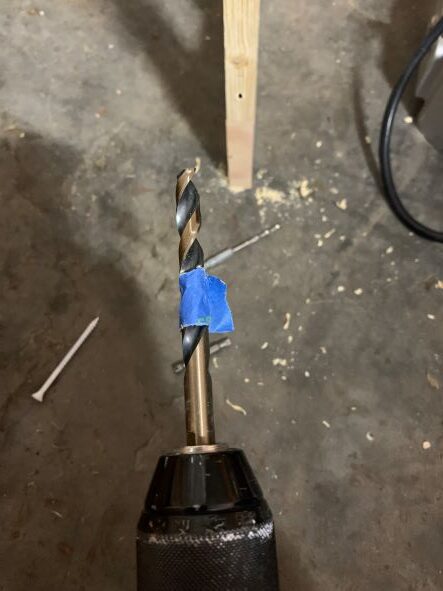
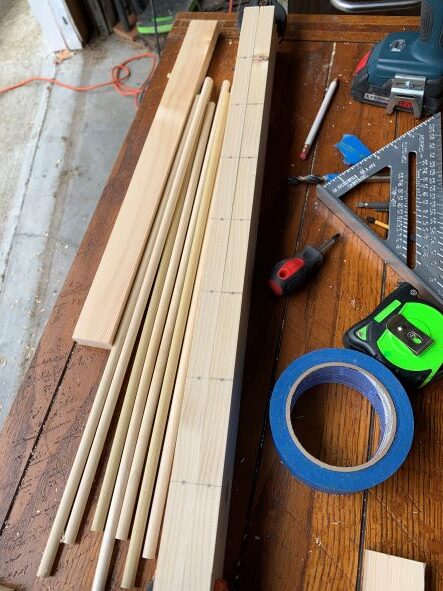
Next, I used 1×4’s and 3/8 inch wood dowels to create the ‘bars’ on the front and back. I measured and cut the 1×4’s, then divided out the distance to mark where the dowels needed to be inserted. Once those were marked, I used a small drill bit to create a starter hole, then a 3/8 inch bit to create the hole for the dowels. I drilled down about 1.5 inches on both the top and bottom boards so there was plenty of support on each side.
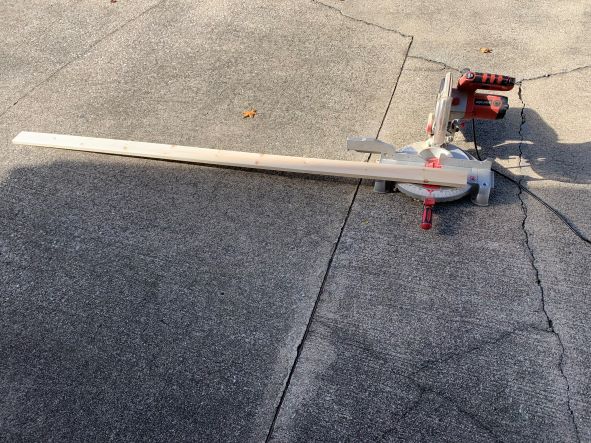
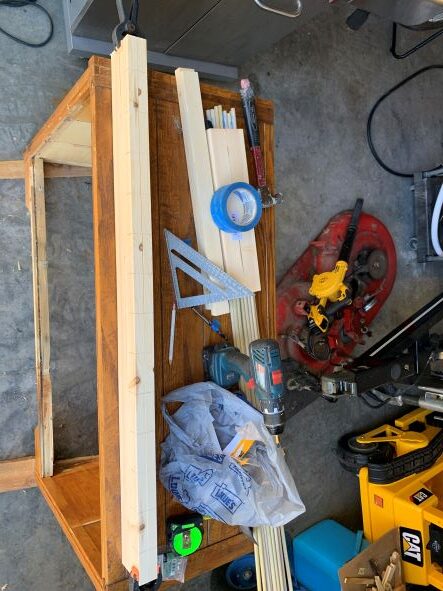
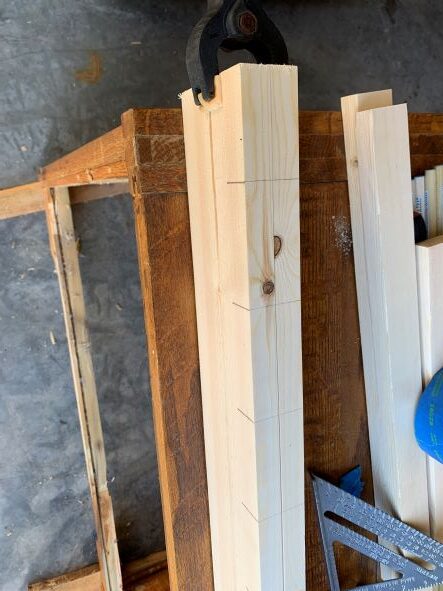
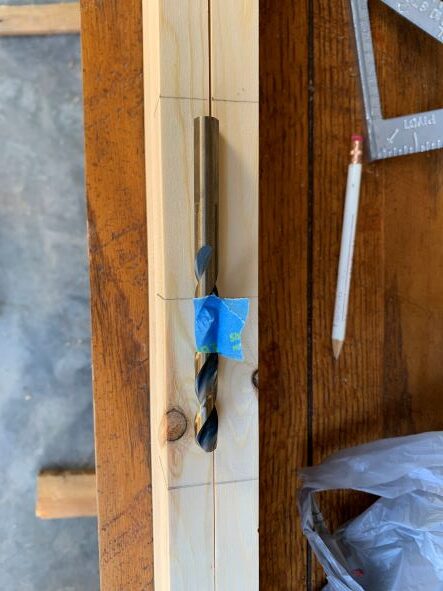
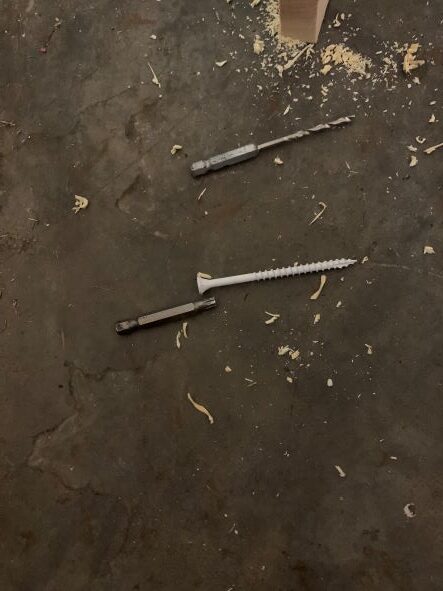
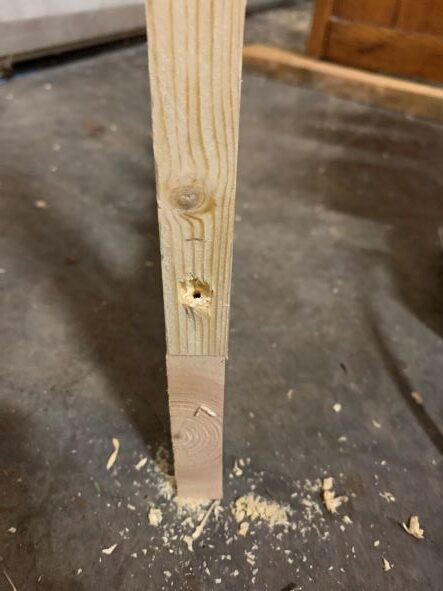
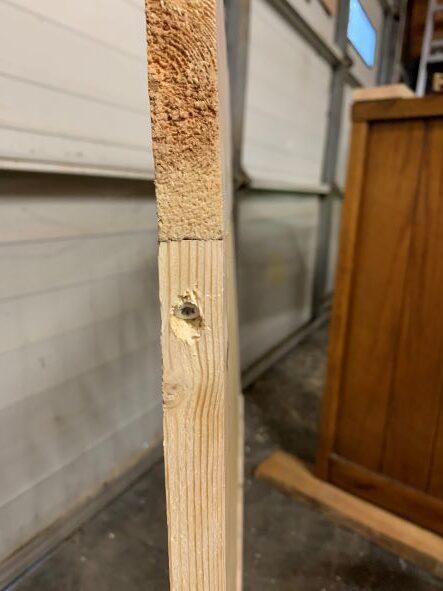
Once the holes were drilled and the dowels were cut and fit in one side, I worked each dowel into the top and tapped it down to be secure. After they were fitted in and to the correct height, I measured and cut two 1×3’s for vertical supports on the sides. I used a 3 inch screw and used the larger bit to create a space to sink the screw head as it needed to be 100% flush to have a tight fit.
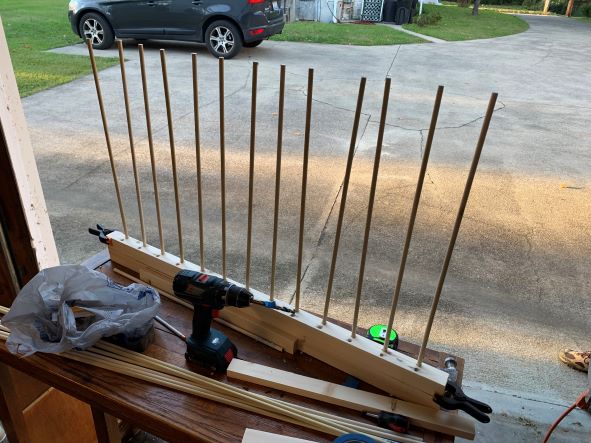
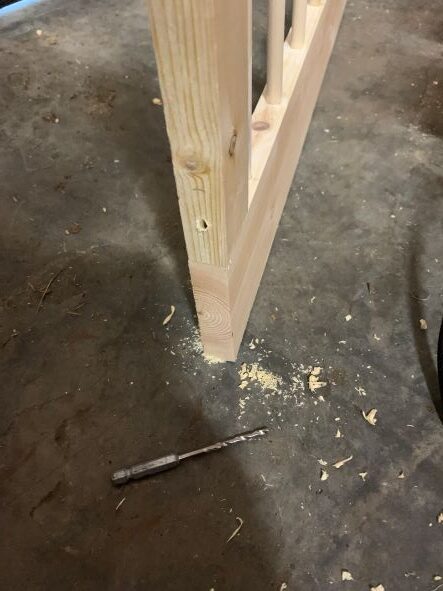
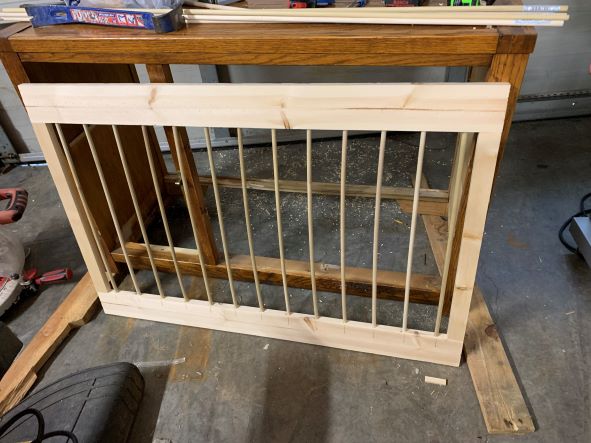
I then measured and used the same process for the front section (where the drawe3rs had previously been). To secure the newly created panels in place, I used flat mounting brackets on the back side.
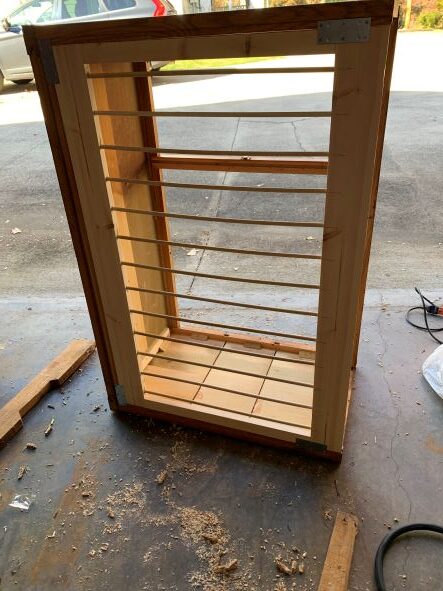
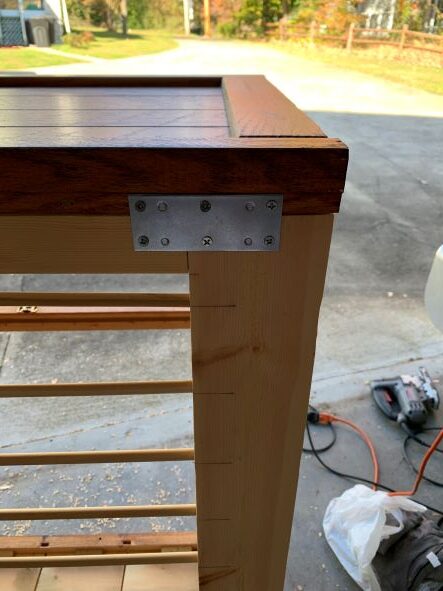
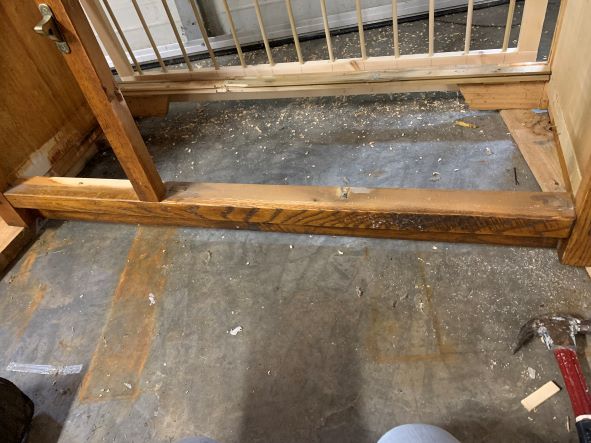
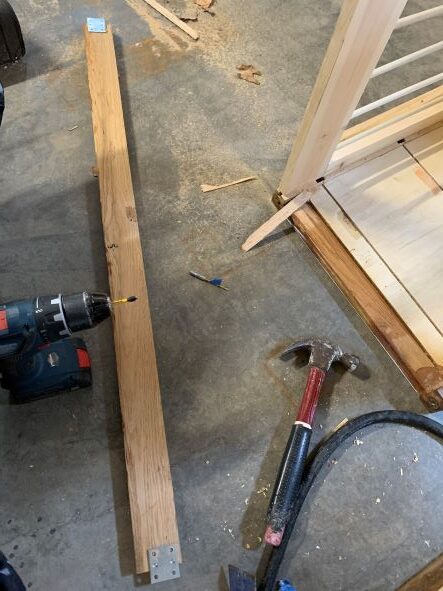
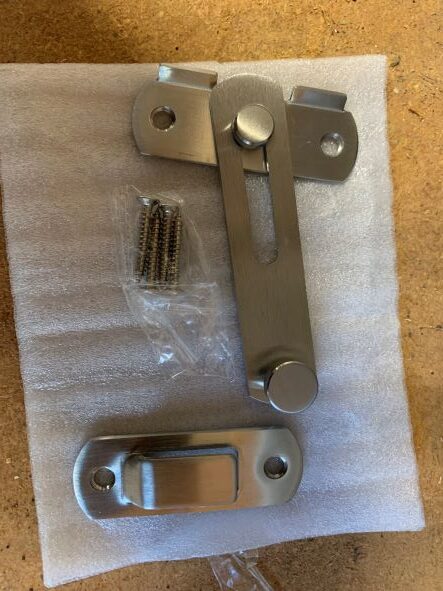
After the front section was in place with smaller brackets used on inside (to not be seen), then I moved on to the door. I knew I wanted to use the existing hinges, but since the latch piece was missing, I did have to order a new latch mechanism.
I started by carefully cutting out the center panel of the door with a jigsaw so I could install the boards/bars (again, to provide as much air flow as possible and allow her to see out, etc.). I then measured and cut 1×3’s and dowels to fit and secured them with the flat brackets on the inside.
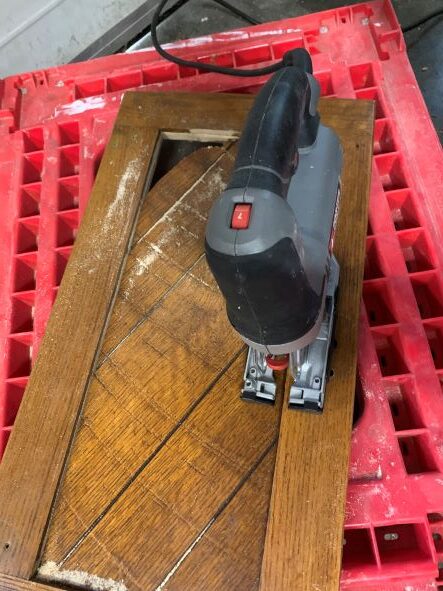
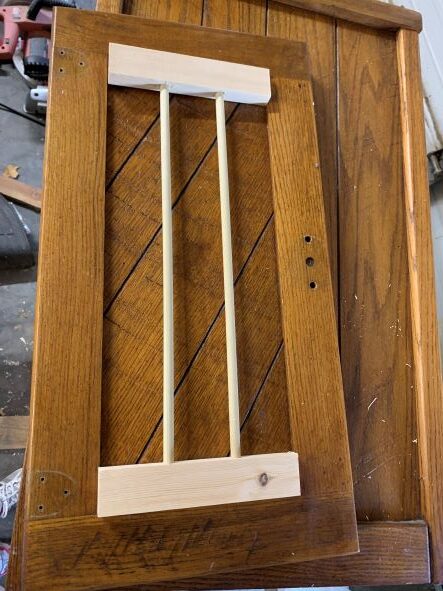
Next, I cleaned the existing hinges and spray painted them in a nickel finish that we already had. I also moved the whole piece outside and used a few cans of white spray primer.
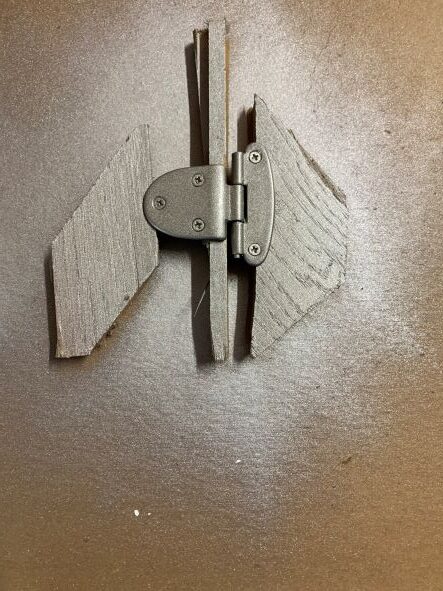
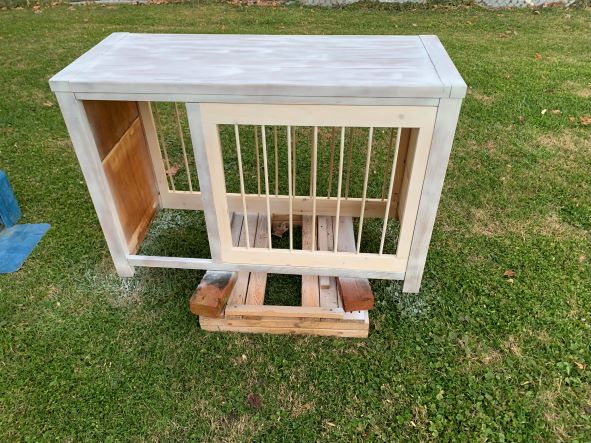
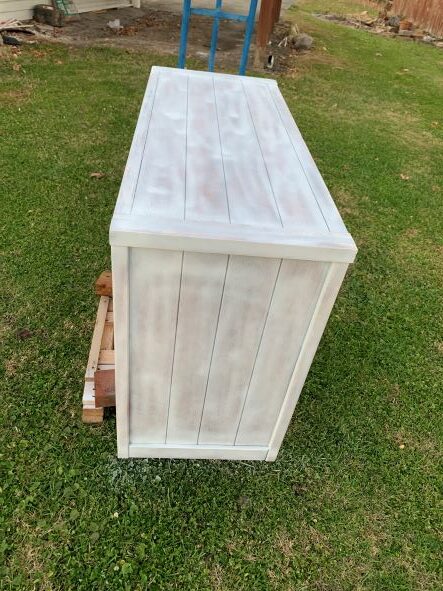
After everything was primed, I painted the outside white and installed the painted hinges and new latch. Since the latch I purchased didn’t line up exactly with the existing frame, I had to add some small washers under the catch piece, but unless you are looking directly up or down on it, you don’t see them, so it worked well.
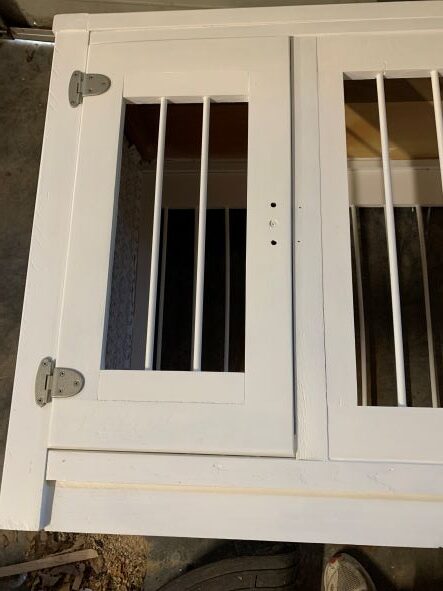
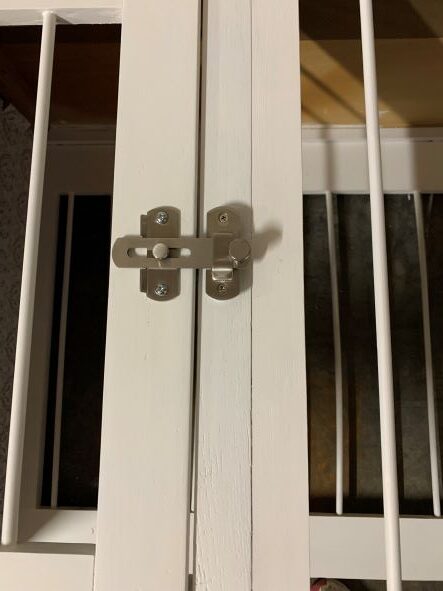
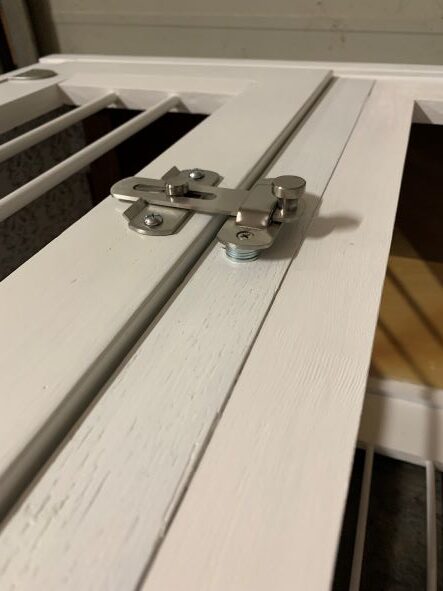
Next, I installed some peel & stick paper that I had left over from another project on the interior side panels. This actually proved to be a waste of time because after the third night of being in her new kennel, she decided she didn’t want that in there and tore it down:) Since you can’t really see the inside panels, I’ve just left it alone as the bare wood.
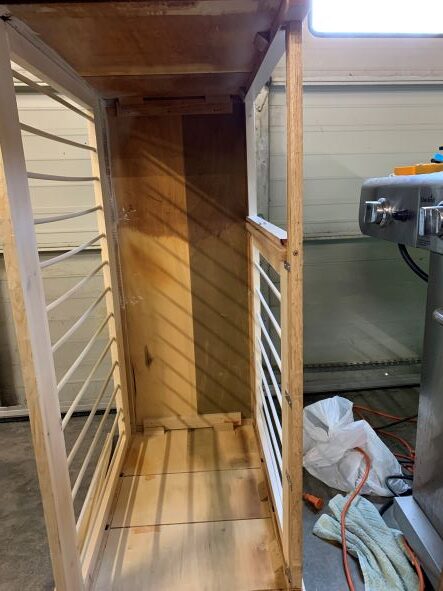
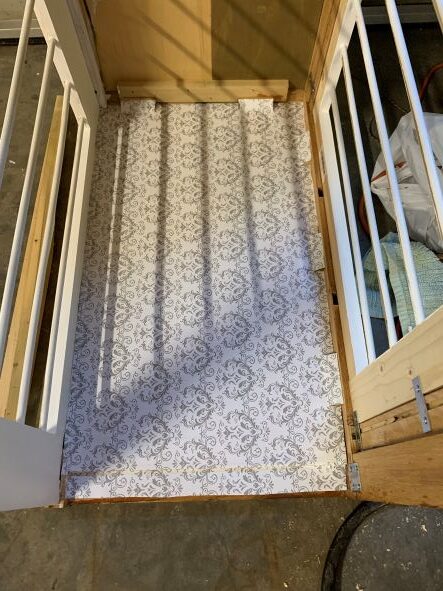
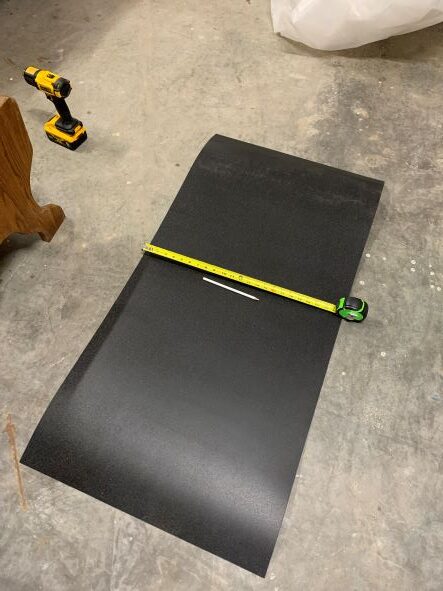
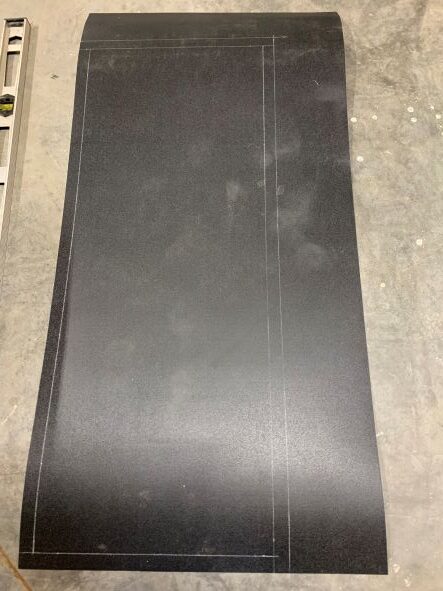
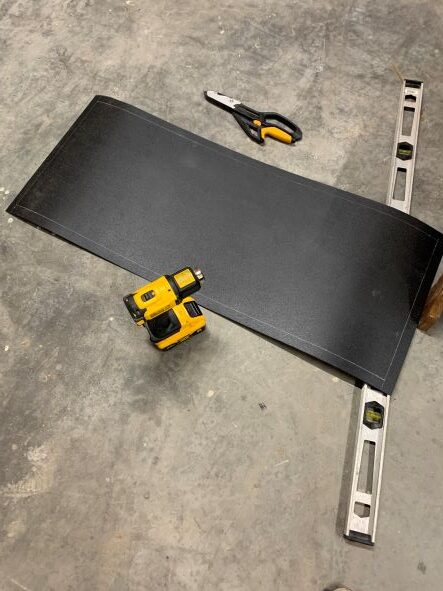
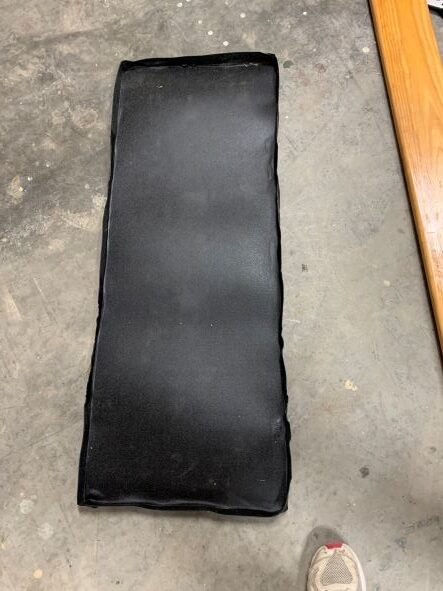
The last piece in putting this together was creating a plastic pan for the bottom, just in case there were any accidents. I searched and searched for a pre-made one, however, because I was converting a dresser, it was an odd size so nothing matched up just right. I ended up ordering a flat piece of moldable plastic and using a heat gun to bend the sides up for a lip around the sides. I measured out and left about a 1.5 inch space for folding up the sides and cut it out with vinyl cutters. I made sure the corners were heated enough to melt together so it was completely sealed. This was a lot harder than I expected and looks rough, but it does the job. I would definitely suggest having a second set of hands to do this. It’s a very fine line between heated enough to bend and too much that droops! Either way, we’re lucky that she’s been good about not having accidents, so it’s really just there ‘just in case’, and it’s hidden by her blanket so no one sees how rough it looks:)
The finished kennel looks great and works perfect for what we needed! I did have to go back and add in some 1 inch square wire (which I can’t find the picture of), but after about the 3rd night, she decided to chew one of the bars, so that’s been replaced and all the places where there are wood dowels have the wire covering it now. I made sure there were no sharp edges and it’s all stapled in well so she can’t get out and can’t get hurt.
I’d say after paying for the dresser and supplies to build this, it still saved hundreds of dollars over having one built or ordering a premade one!!
