Building a Lego Table
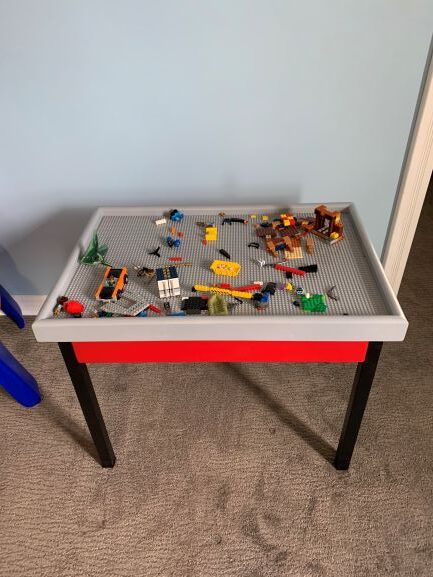
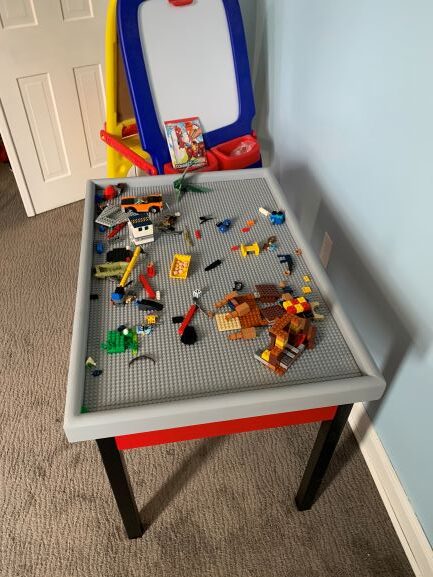
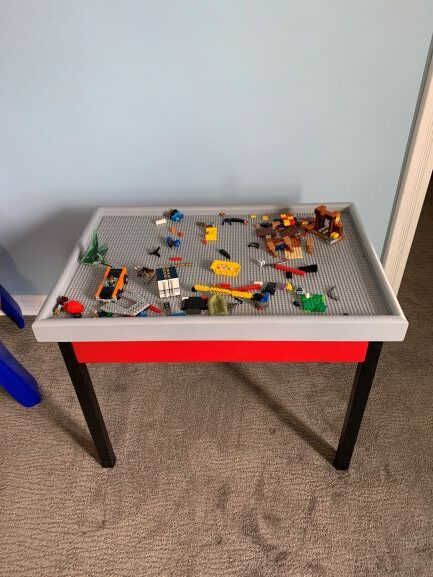
So, on my son’s birthday a few weeks ago, I promised him I would build him a Lego table. He’s getting more into Lego’s and his older brother has one, but rather than spend $200-$400 on buying one, I thought I’d try to make one!
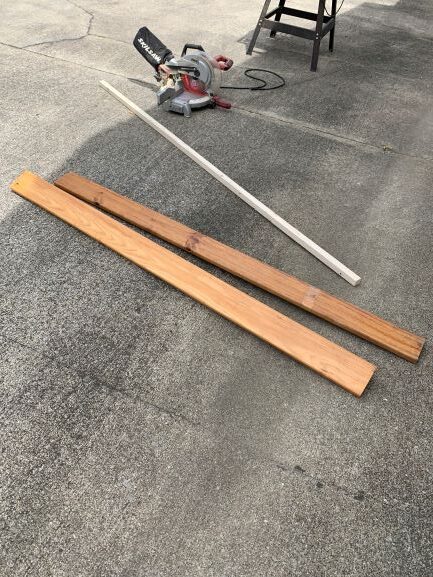
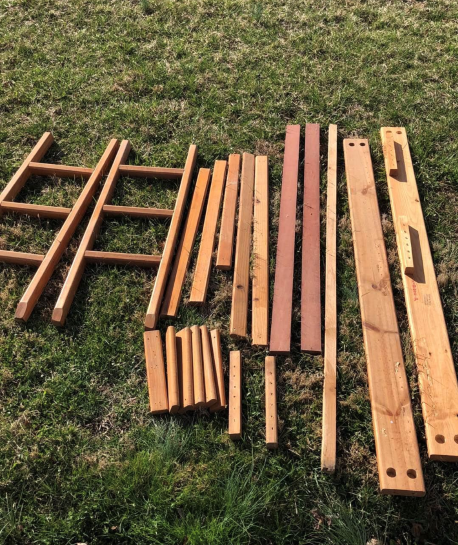
A few weeks prior, I happened to be on Facebook and saw a posting for ‘free wood’….um, FREE, yes please!! Now, when I saw the posting, there were a few pieces I had some ideas for, but a Lego table never occurred to me at the time (I haven’t even started on those idea pieces yet, but, I’ll get to them eventually). The ‘free wood’ consisted of what looked to be some old bunk bed pieces, so I thought I could use the larger boards for the sides of the storage table and the smaller boards for top Lego base plates.
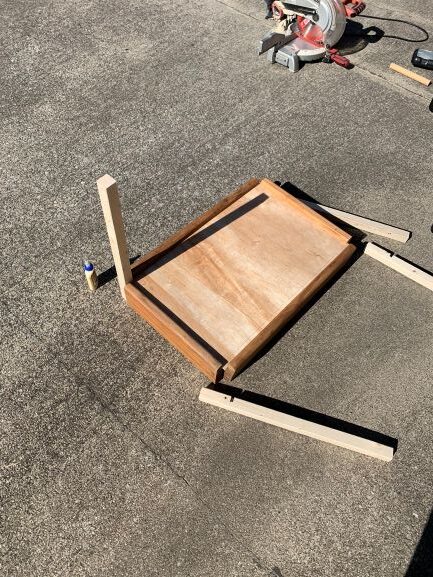
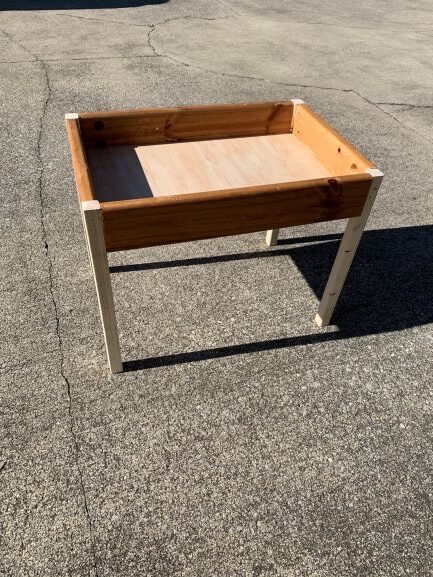
I scavenged in the garage and found some thin scrap plywood I could use for the bottom of both sections, but couldn’t find anything to work for legs, so I did have to purchase a 2x2x8 to cut for the legs. I was able to get 4 legs out of the one board by cutting them at 23 3/4 each, so not a bad deal at all when you consider the price of table legs!! And, that was pretty close to the height of my oldest son’s table and the perfect build height for Beckett (my youngest and new owner of said Lego table).
Using my oldest son’s table as an inspiration piece, knowing I wanted to have a storage area underneath and a top that would sit on flush, but also come off and could be flipped over for other uses.
I found the Lego base plates on Amazon and ordered the grey 10×10 panels (my son’s current favorite colors are red, black and grey so that’s the color scheme I was going with on this project). Even though, I only needed 6 of the base plates to have a 20×30 inch table, to get all grey plates, the best deal was to order the 8 pack for around $18.
I decided to wait until these came in to measure for the top, and it’s a good thing, because they were actually 10 1/8x 10 1/8 and not just the advertised 10×10 inches. After measuring out the top piece of plywood and allowing for the ¼ on all sides to slide into the groove, I measured out my side boards allowing for just over an inch for the miter cut (the boards are just over an inch thick).
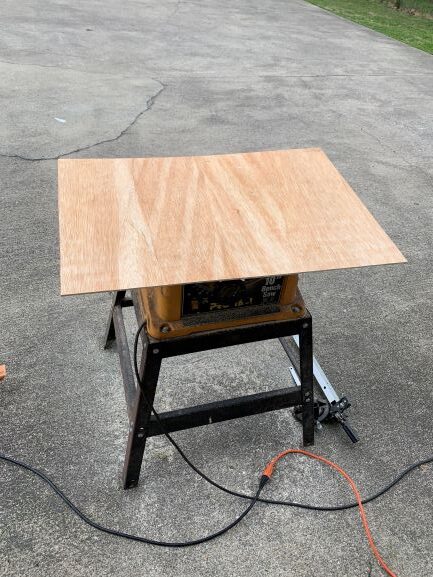
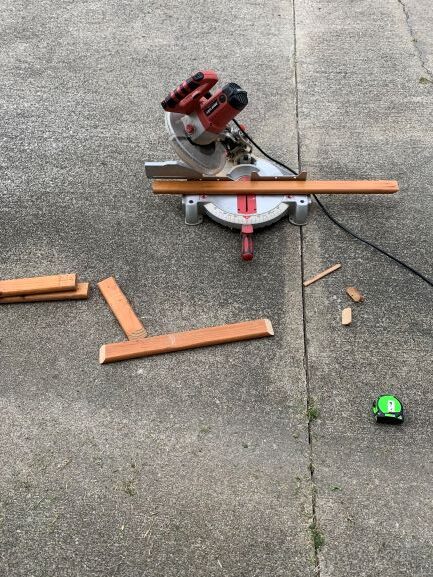
I decided to miter the corners, then, I cut a ¼ groove about half way to slide the plywood in since it was rather thin, I could just glue it in and not have to nail it. I did use wood glue and the nail gun for the trim pieces where the corners met.
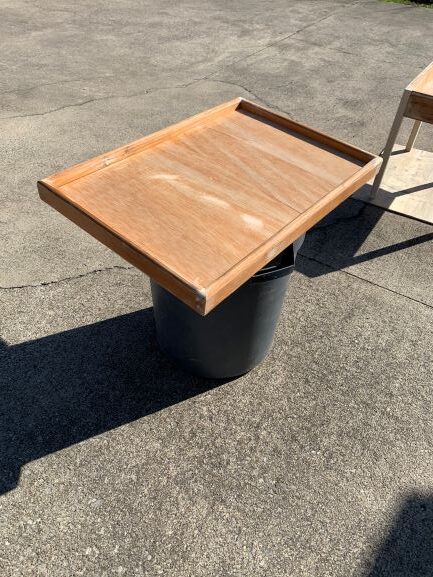
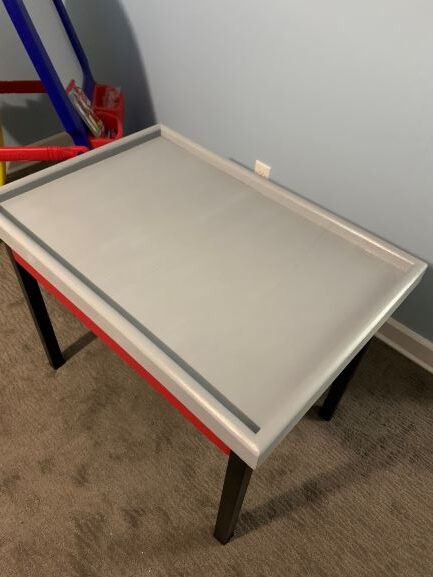
The goal of the top piece was that one side would be used for the Lego base plates, and, the other could be used for a solid top/play space. Once I cut the pieces, I realized that the longer boards I used were just a bit wider than the ones I cut for the shorter sides, so I ended up using wood filler where the seams met and then sanding down a bit to have a more flush appearance after it was assembled. I also sanded the corners quite a bit so there were no sharp edges. I try my best to avoid trips to the ER, so the last thing I wanted was sharp corners that someone might fall into!
Once the top was assembled, I measured the inside dimensions again to get my measurements for the bottom storage section. I knew I would be painting both pieces, so I wanted it to be a good fit, but also allow room for both to be painted, so I allowed an extra ¼ inch in both directions.
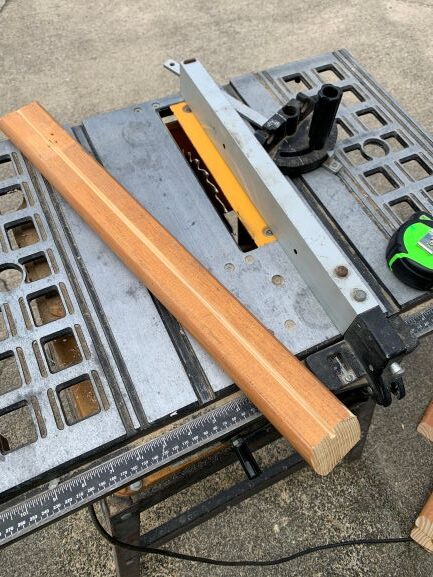
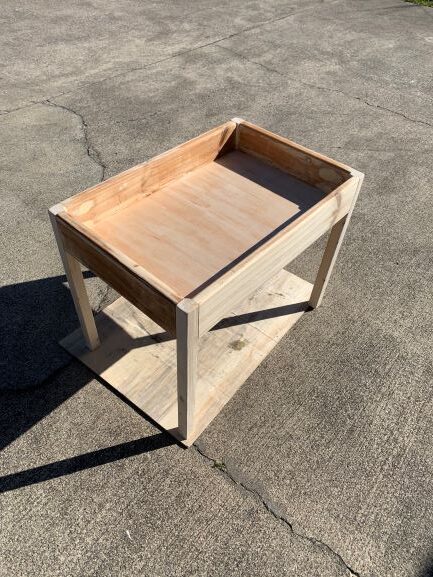
The bottom storage area sides were cut to leave room for the 2×2 legs (3 inches on both sides since the actual measurement of a 2×2 is 1.5×1.5 inches), then, all pieces were put on the table saw to create the ¼ groove about an inch from the bottom. For the 2×2’s I did also use a sonic crafter tool so I could notch out the groove without having the cut lines show from the table saw (the groove needed to be a solid corner notch and not just the rounded notch the table saw would leave as well).
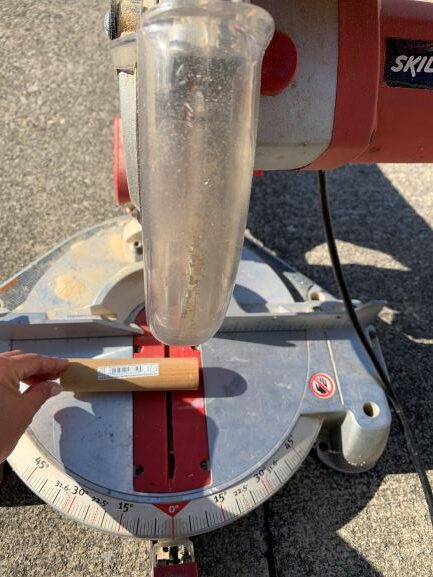
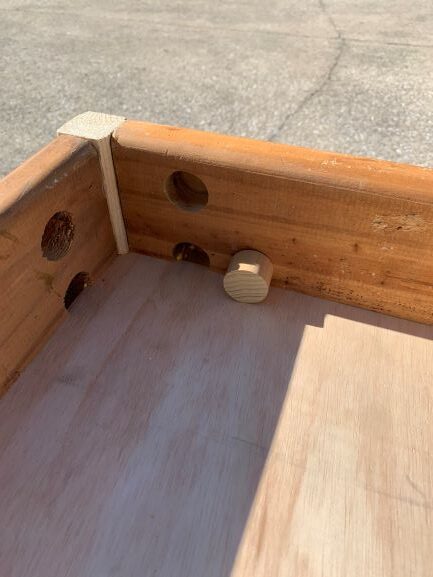
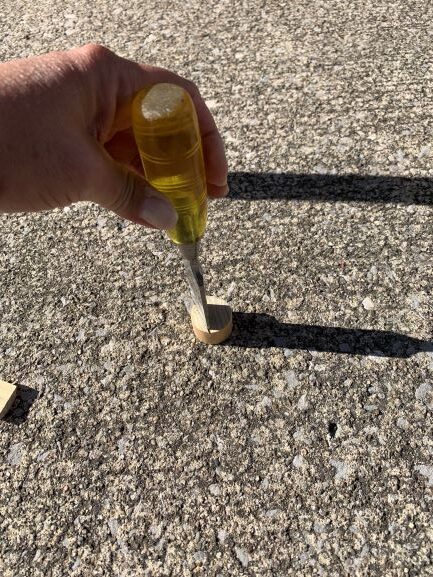
Once this was assembled using wood glue in all grooves and the corners, and the a few nails with the nail gun on each corner, I again used some wood filler where some of the boards didn’t quite meet flush and then there was the issue of the holes on the interior of the boards. As I mentioned, these were previously bed pieces, so, there were large holes from some previous assembly mechanism. Again, after scavenging the garage, my husband found an old 1 ¼ inch dowel rod that I cut down into 1 inch pieces and glued in. For the holes that were partially covered by the plywood, I just used a wood chisel and a hammer to take a little less than half off the dowel piece. Once the glue dried, I filled any remaining gaps and old nail holes with wood filler, then sanded the entire piece down well with belt sander (getting all the wood filler, sharp edges and uneven transitions knocked down).
I checked the fit of the table top to the storage area, then, sanded some more with a palm sander to make sure I had some room on all sides for the paint. For the final sanding, I did use a finer grit paper (120) over the entire piece and on the legs to get any splinters, etc., removed. Once I was able to sit the top on and slide it just slightly in all directions, it was ready for paint!
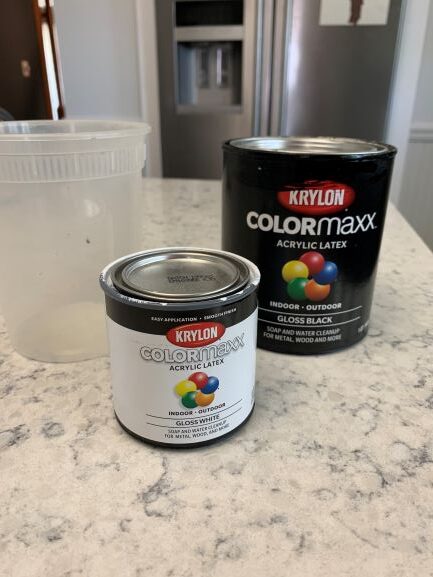
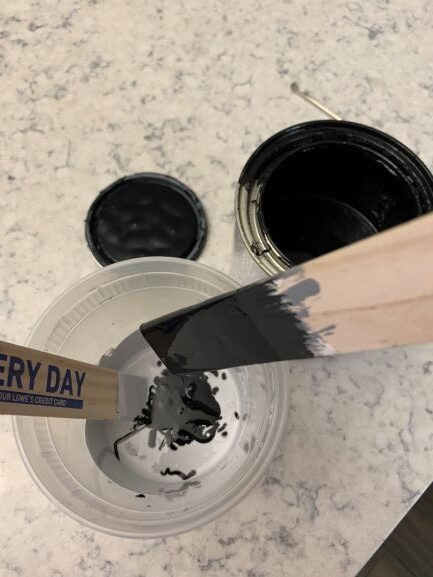
I wanted to paint the top grey, and I wanted to do a gloss finish, which I didn’t have. I went to Lowes, and the pre-mixed Krylon paints didn’t come in a grey at all (only spray paint, which I did not want to use). After checking with the paint desk, my only option was to buy a quart of the Valspar gloss interior paint for $14….for one small project, nope! I decided that since I had gloss black and gloss white at home that I would attempt to mix my own! The only paint I had to buy was the gloss red (Krylon Banner Red). I wasn’t sure how many coats it would take, so I did get the quart size for around $10.
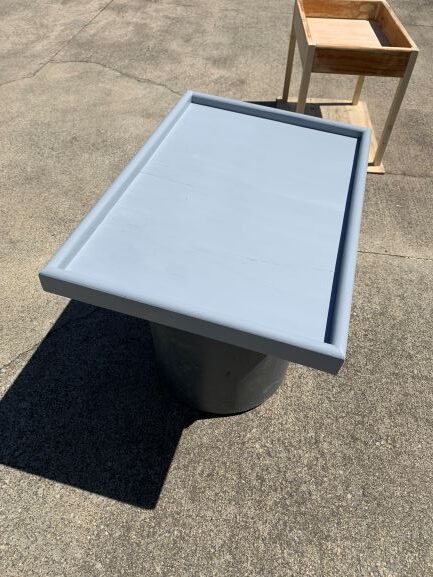
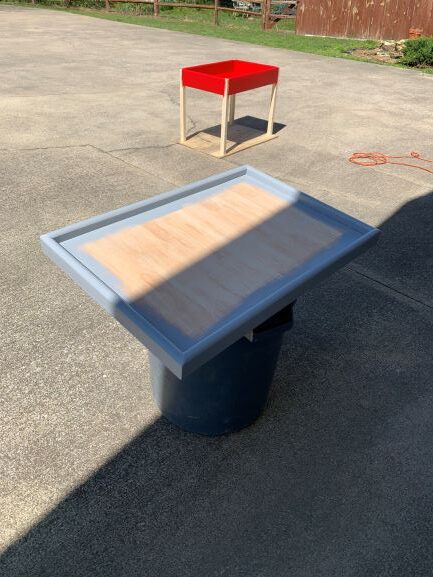
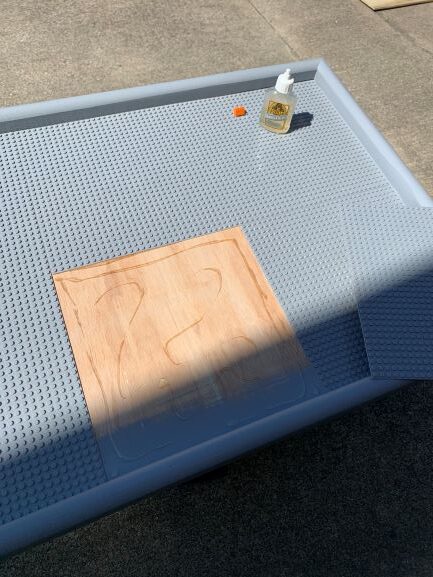
I mixed up my grey until it was close to the color of the Lego base plates and used 3 coats on the entire top except the section where I would glue the base plates down. I did paint in from the edge a little so there wouldn’t be any wood color showing between the plates and the sides, but left the rest alone so the glue would adhere well to the wood.
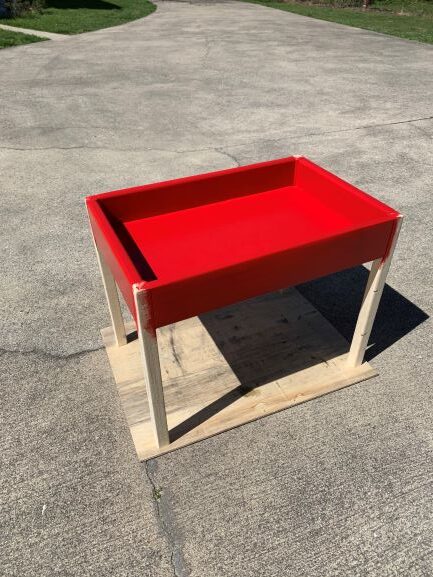
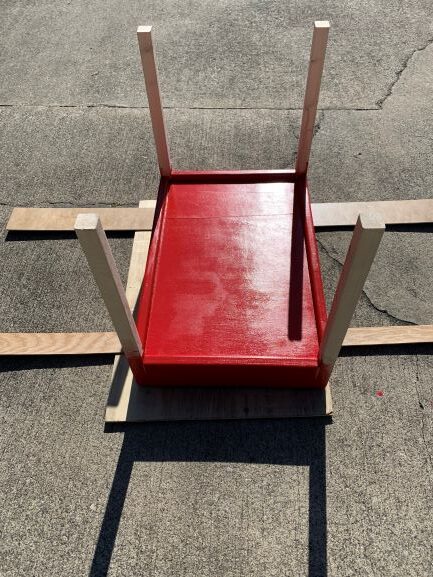
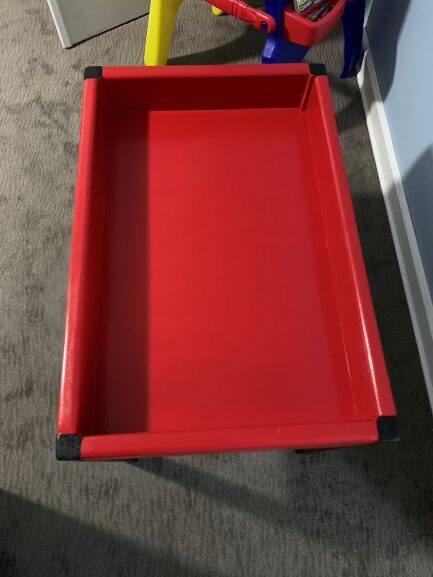
While that was drying, I started on the red. This took 3-4 coats to get good coverage, so I’m glad I went with the quart size because I decided to paint the underside as well (not that it would be seen, but I would know it wasn’t finished:)).
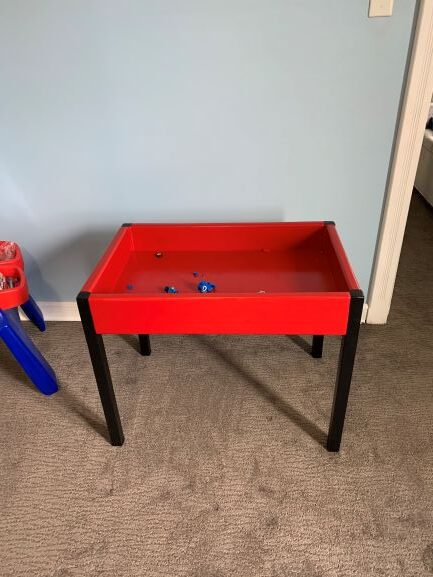
While the red dried, I moved on to the gloss black for the legs. This only took 2 coats.
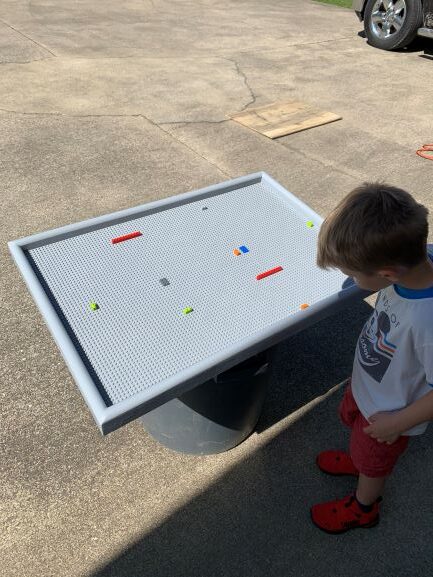
Then, it was time for the base plates. I just used some Gorilla Glue we already had to glue them down. I had my son get me a few Lego pieces so I could make sure I had them lined up correctly. The last thing I wanted was to have everything done and then Legos not actually fit between the plates!!
Needless to say, he’s happy with it and already building cities:) And, while it’s not getting my house any closer to finished, I think he’ll remember having his own custom Lego table more than he will remember getting the dining room finished:)
Overall, this was actually a pretty simple project to do. It only took a few days to complete, and that was working off and on, so maybe it could be done in a day. Of course, the best part is that I spent less than $35 on the entire project!! Let me know what you think!!

