DIY Farmhouse Clock
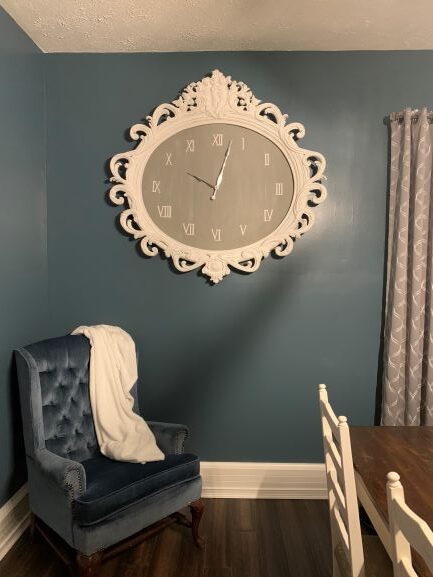
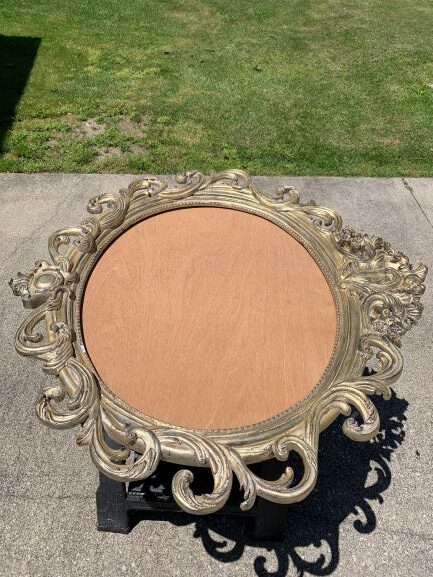
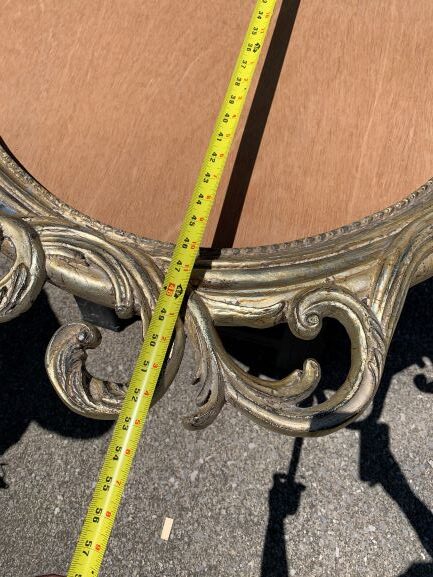
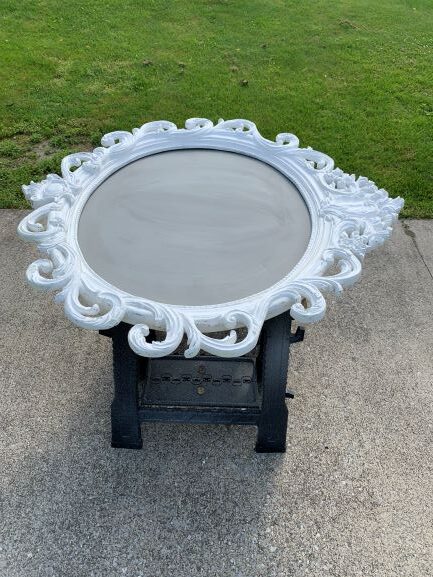
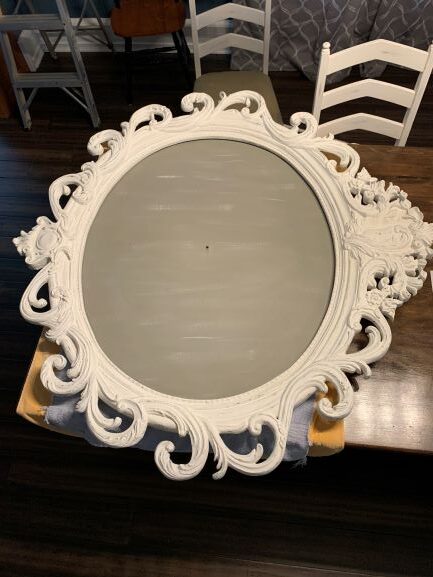
I’ve wanted a large farmhouse clock for our dining room for a while now. I’ve been checking FB Marketplace, Amazon, etc., but nothing seemed to be the right size or look, or was way too expensive! So, a few weeks ago when we were out of town, we stopped by a yard sale in the neighborhood and someone was selling this old mirror frame for $5!! Now, it was more of an oval shape and not round, but I thought surely I can make a clock with this, and for only $5, it was definitely worth a try!
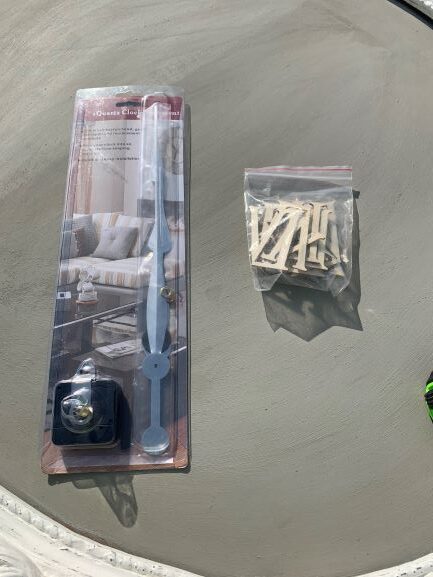
I ordered a clock kit from Amazon for around $13 and a pack of wooden roman numerals that were around 3 inches in height for $8.
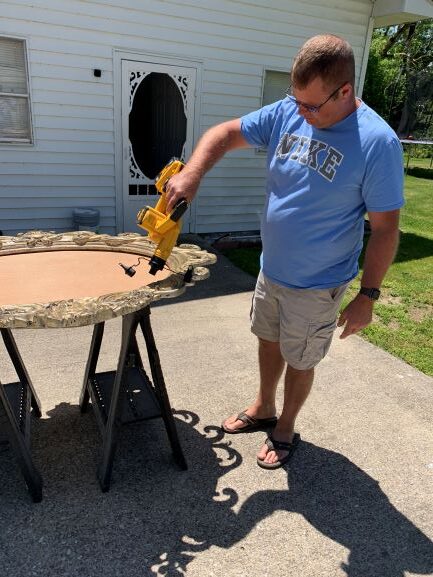
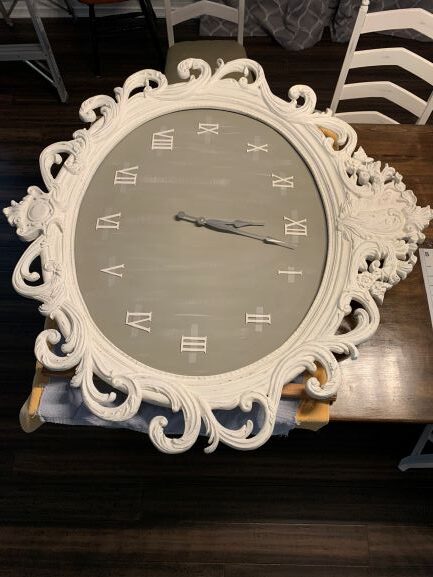
Step one was to take a wire brush to the entire frame to get as much of the gold and silver leaf off as possible, then, my husband took a leaf blower to it to get all the ‘glitter’ shavings off of it.
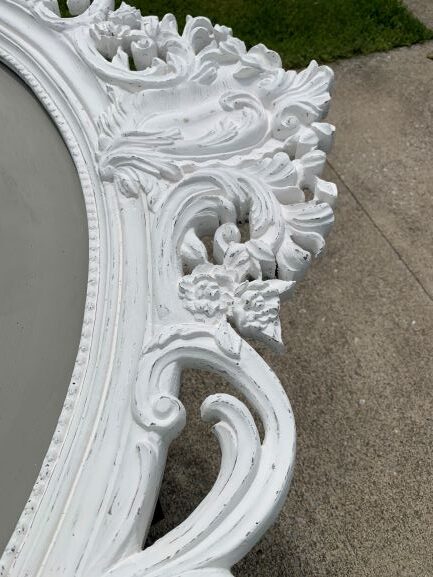
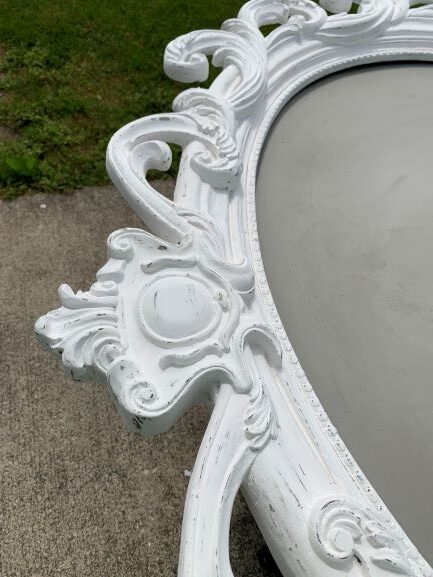
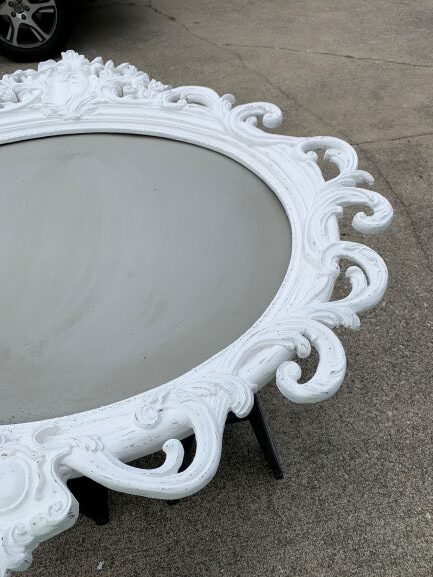
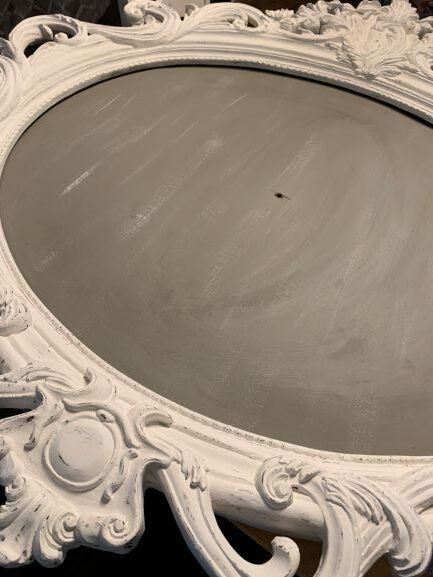
Next, I ended up doing 4 coats of white chalk paint on the frame itself, and 3 coats of grey chalk paint on the inside (I used the plaster of paris and the grey paint I already had leftover from the hallway on this part). Again, this frame is large, so each coat of paint took quite a while to get in all the cracks and crevices of the design, but I knew it would be worth it!
Next, I used a 120 grit sandpaper to distress the frame.
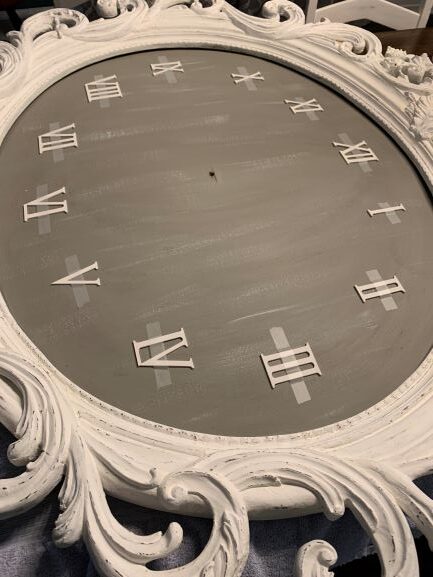
For the clock face, the plain grey just seemed so stark. When I laid the numbers out, the center just seemed so ‘empty’, so I used white chalk paint to dry brush some streaks onto it. I also had to play with the placement of the roman numerals. At first, I had them about an inch off the frame edge, but by bringing them in to about 2.5 inches off the edge; it seemed to not look so plain in the center.
I then waxed the frame, drilled the hole for the clock kit in the center and had to add some washers to the back panel where some were coming loose.
The roman numerals ended up with 4 coats of white chalk paint as well (the plain wood soaked it up quick).
Lastly, I laid out all the numbers and taped them in place with scotch tape so they didn’t move while I adjusted them to where they needed to be and then added the clock kit to the center.
Once everything was in place where it should be, I pulled back one side of the tape and added Gorilla Glue to the numbers and laid the tape back down to keep them in place while they dried.
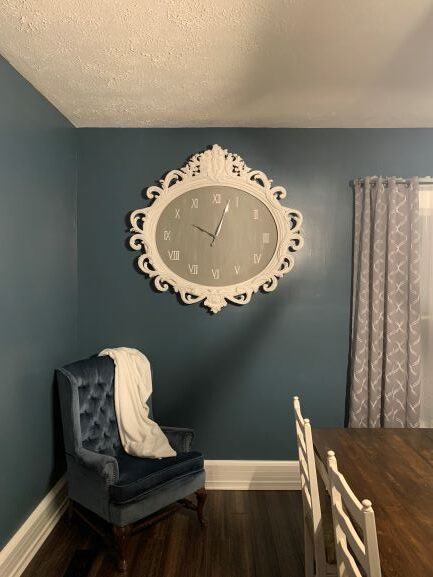
I knew what wall I wanted to put it on, but this is a VERY HEAVY piece, so we had to find a stud in the wall to support it. Luckily, there was one about center on the wall I wanted to hang it on! This whole corner in the dining room is coming together now! The chair I found on FB Marketplace, and because it was pretty dirty from sitting in storage somewhere, I was able to get it for $30! I just had to clean it up and then I wanted a white throw on it, so I found one at Ross for $10! There’s only one more piece to add to this corner, which is what I’m working on now (when I’m not working at my parents house on the room reno), so hopefully by next week, this corner is done!
I cannot say enough how much I LOVE this clock!! For a total of $26, I now have this AMAZING, MASSIVE wall clock that is both functional AND a piece of art!

