Easy Fleece Blankets, Hats & Scarves
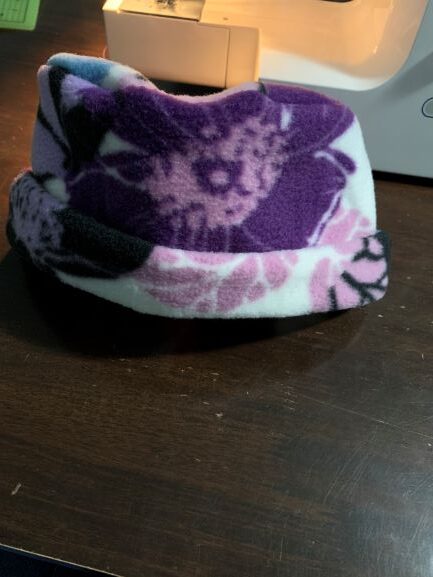
In the past few weeks I’ve been working on teaching my 10 year old son to use the sewing machine. Since I have all this extra fleece material, I thought it would be a good project to get him involved in and hopefully teach both a skill and some compassion at the same time. We’ve been making scarves, hats and baby blankets to donate to local shelters, and, while it may not be a lot, hopefully it helps at least in a small way for those in need.
I encourage anyone with extra material around the house and that has the ability to use a sewing machine to put your time and scrap material to good use! These items take less than 30 minutes to make start to finish, so you don’t need a lot of time to make this happen!
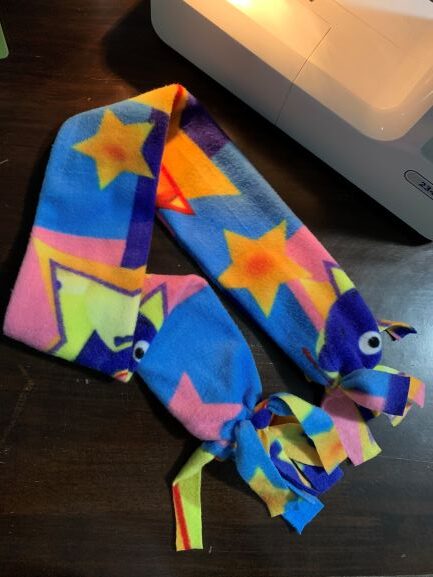
The scarves we made were doubled over and simply tied at the ends, so depending on if you are making a child or adult size, any good length of material would work. If you have a wide enough piece, you can double it and use a simple straight stitch, or, if it’s only 4 or 5 inches wide, a single layer works too. We just cut about 3 or 4 inches up on the ends to make the ties.
For the blankets, I got a general measurement from one of my younger son’s blankets and from there, we just doubled over the material, pinned and used a straight stitch with the right sides of the material together leaving about 6 or 8 inches open on one side to flip it right side out. I would suggest doing this more toward the center as the first one we did was on the corner and that does make it a little trickier to get the outer stitch in place. Once it was stitched, we turned it right side out and made another straight stitch about ¾ of an inch from the edge.
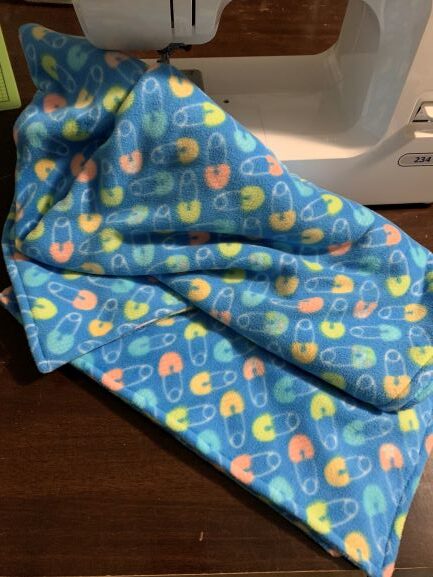
If you aren’t comfortable with a sewing machine, you can always do the knotted blankets where you place two pieces of material together, then cut about 3 inches in by about 1 to 1.5 inches wide strips all the way around (your corners will be cut out completely), then just tie the pieces together (front and back strips together) all the way around.
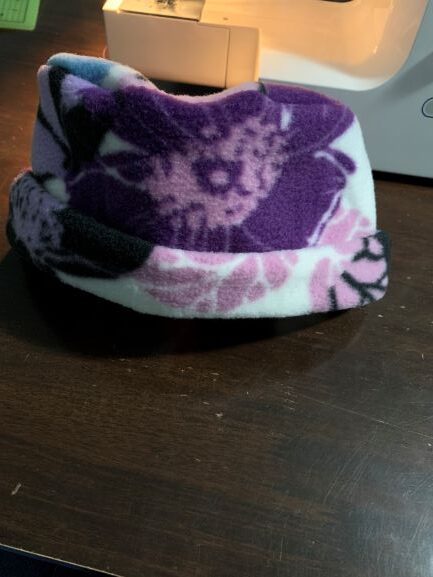
For the hats, I used a fleece hat I already had (it’s a ‘one size fits all type) to take the measurements. The top measured 7.5 inches around and the sides measured 23 inches long (around) by 13 inches wide (top to bottom). Now, the actual side comes down about 8 inches and folds up inside 5 inches so you can create a fold anywhere you want when you wear the hat.
Don’t be discouraged if you don’t have a 13 inch wide section of fabric. We actually made a few where we only had 11 or even 8 inches to work with, so the fold will just be smaller. As long as you have at least 5-6 inches, you can make the hat and it covers your ears. Also, don’t worry about having less than 23 inches. We are using some excess pieces that are half that, so we’ll just stitch them together (as I did with the one pictured). The most important part is to make sure the most flexible direction of the material is the longer of the two so it will stretch to fit most people.
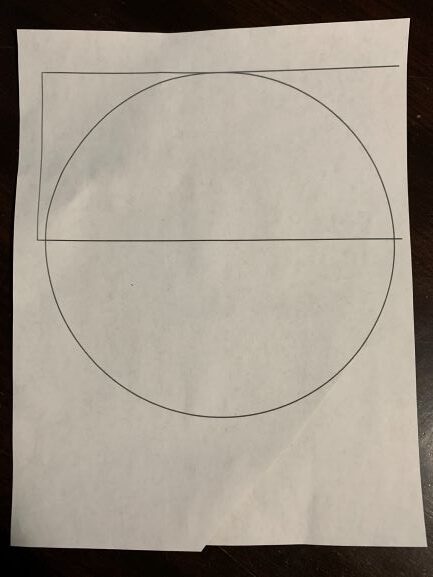
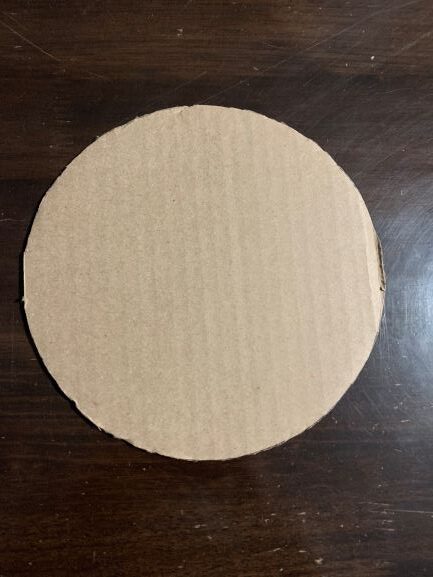
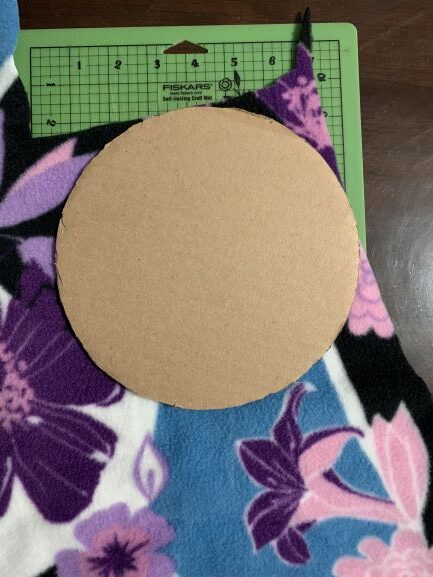
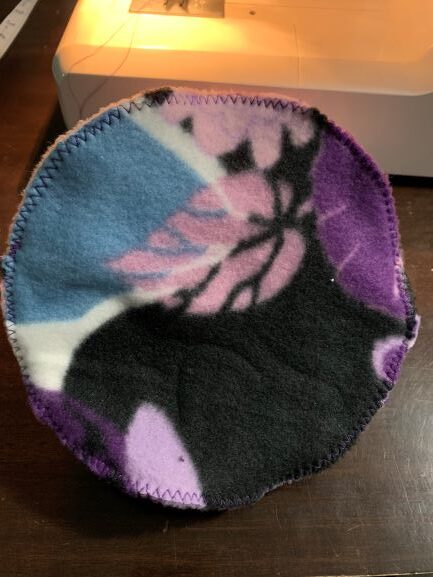
I just used the computer to print a 7.5 inch circle, then cut it out and traced it to a piece of cardboard so I had an easy template to use for the top.
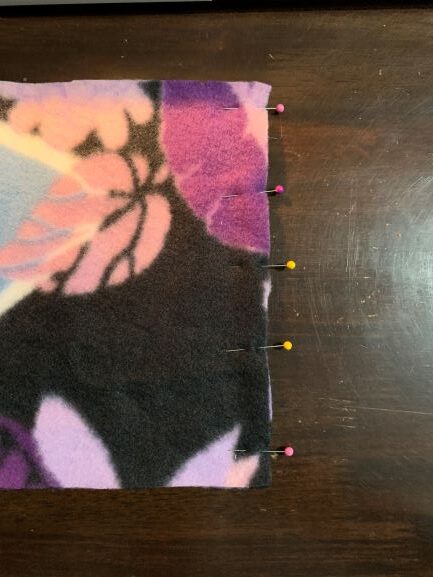
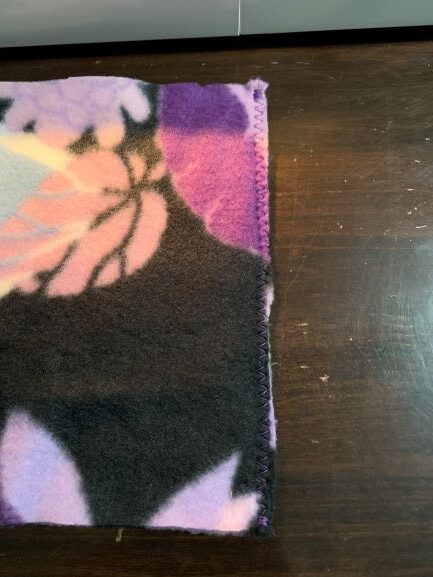
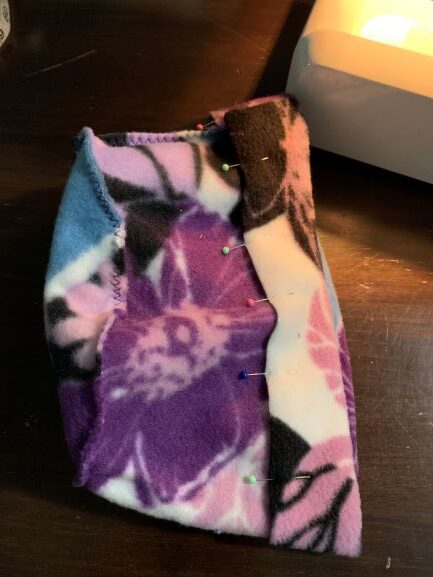
For all pieces of the hat, we just used a long zigzag stitch to give it more flexibility. Again, if you have a serger, this could all be done with that vs. a sewing machine. Once you have your pieces cut, pin and stitch the side piece together with the right sides facing together.
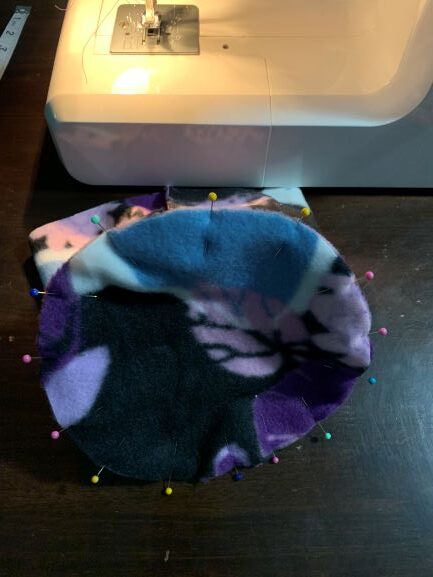
Then, take your circle and start at the seam of your side piece and pin the wrong sides together working your way around, pinning every few inches. Remember not to pull your material, just loosely match up the edges and pin.
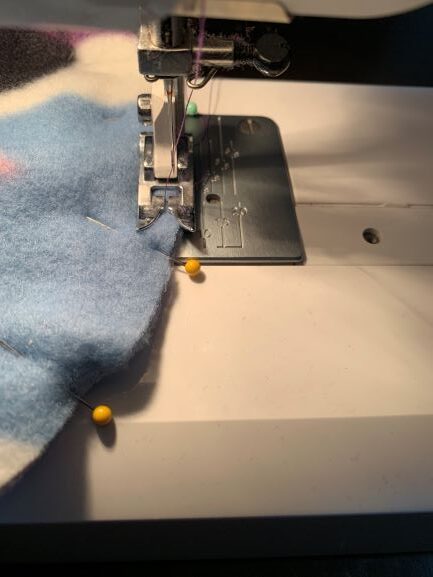
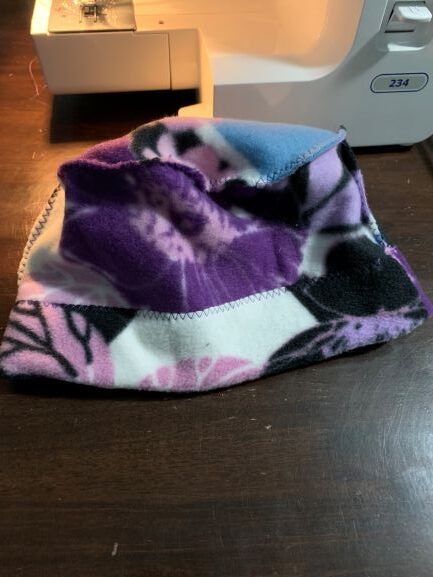
When you stitch the top circle to the sides, you’ll need to work slowly and readjust your material every few inches because the pins will cause it to gap up/pull if you’re not careful.
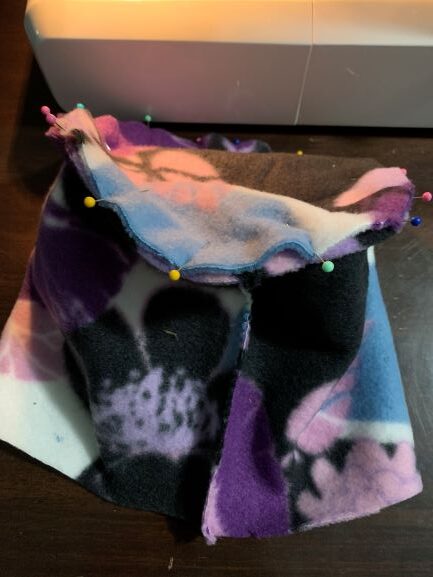
For the fold, I just started at the seam and worked my way around pinning, then stitching. Again, the size of the fold may vary based on the amount of material you have.
This project doesn’t take much time and is using up material we have sitting around. It’s also a very simple project for a beginner AND easy to get your kids involved in! The best part is that this is something my son and I are making together and we are getting to help those in need at the same time!
If you’re able to make and donate things (not just hats or blankets, but anything you’re able to make), share your stories and photos!!

