Replacing a 2nd Story Patio in Texas
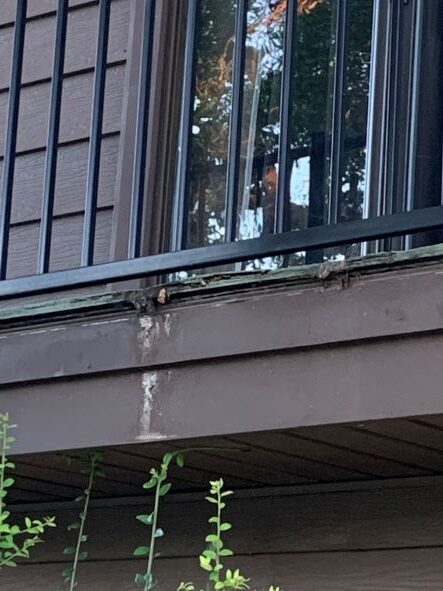
One of the many projects that was on our list to complete at my brother’s house in Texas last week was replacing the old plywood that was damaged and wet and allowing water to leak into the garage below. He wanted tile installed instead, so this was the first and most intensive project we tackled there.
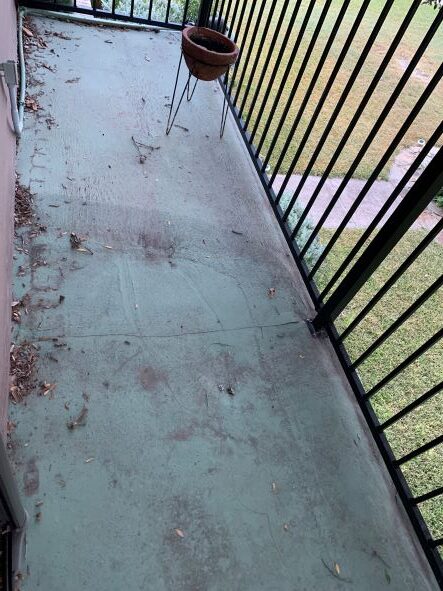
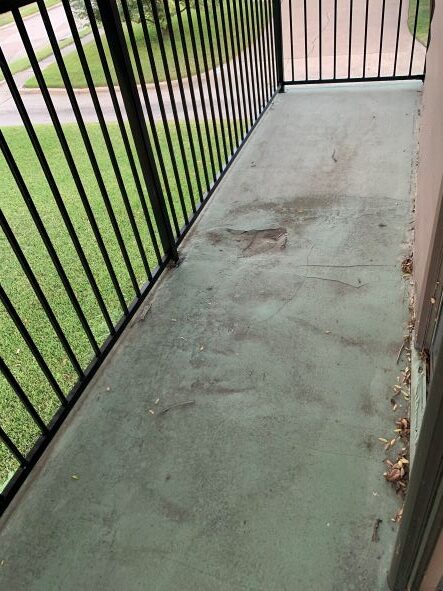
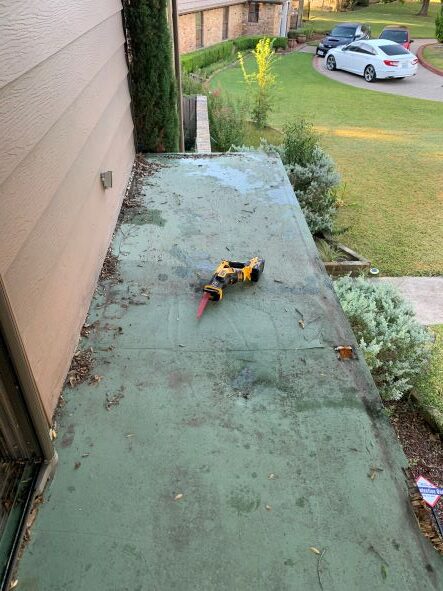
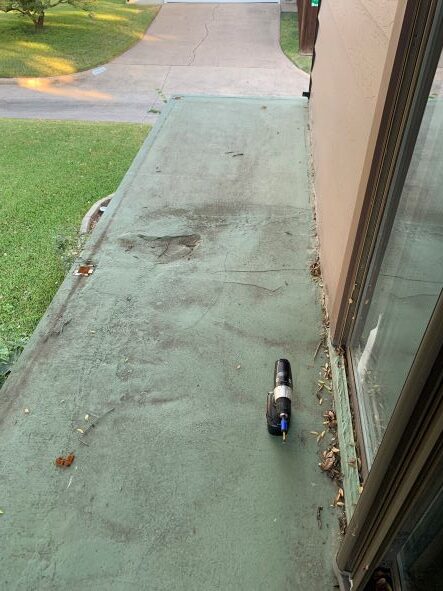
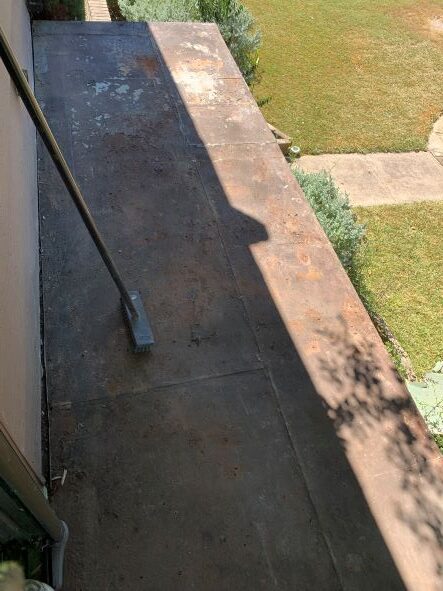
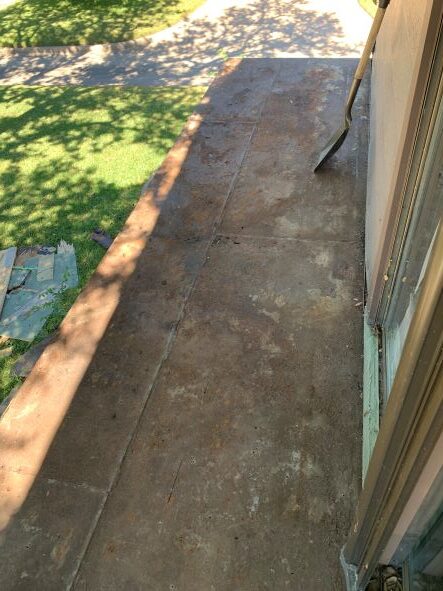
The patio was roughly 4ft wide by just under 25ft long and was in pretty rough shape. It was plywood with some type of cement type of coating painted on that had long since cracked and weakened the structure. The slope of the entire patio was also leaning toward the house, especially near the sliding glass door. So, our goal was to raise the entire side along the house and create a slight slope to allow water to run off and away from the house.
First, the railing had to be carefully removed and stored, since it was going to be re-installed when we were finished. Then, the process of getting all the old, green coated plywood off!
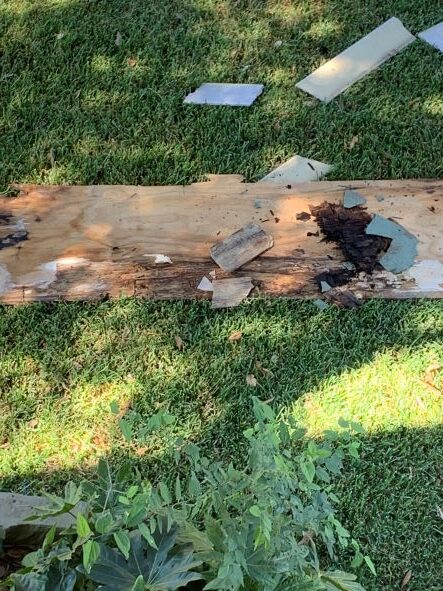
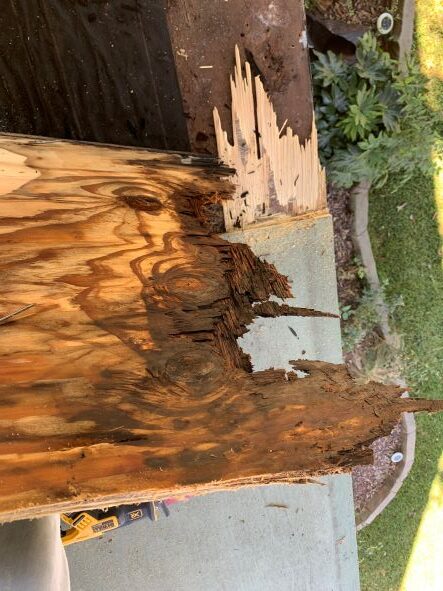
During the removal process, we found many places where the plywood was completely water damaged and in some cases still wet, even though it hadn’t rained there in nearly two weeks! As expected, the worst parts were near the door.
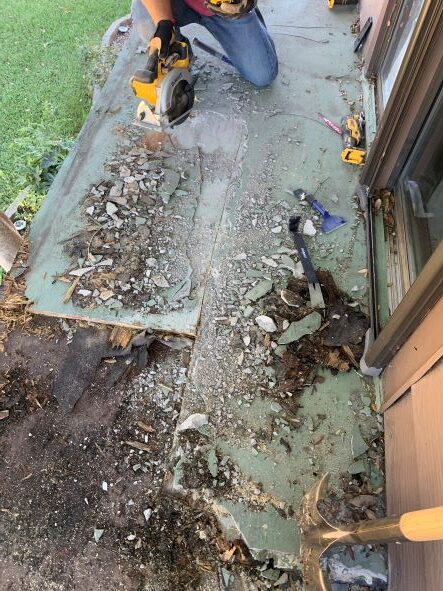
We used a circular saw to cut thru deep enough to get the old plywood off, and in some cases had to chisel out the concrete type of coating on top (it almost seemed to be a floor leveling type of substance and was thicker around the door – telling me this has been an issue for some time, and someone tried to fix it, at least ascetically, before he bought the house). Working in small sections, we were able to pry up the old plywood and get to a bottom layer which seemed to be coated in a metal sheeting and was stable, just not sloped properly from years of settling most likely.
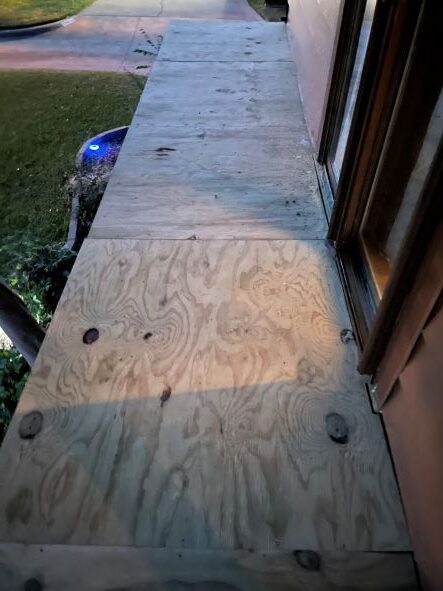
After we got all the old stuff removed, we started with a series of ‘shims’ along the house, then gradually working outward to the edge. From about an inch to nothing across the 4 ft span, we used some of the 3/4 inch plywood scraps, some vinyl flooring scraps, some shims, some 1/4 plywood doubled in one row, then single, etc. to create our slope.
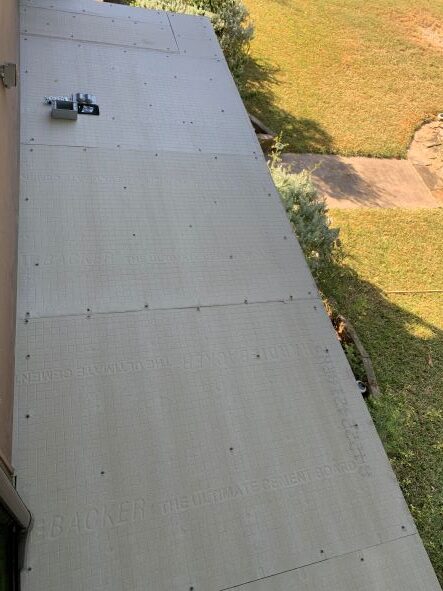
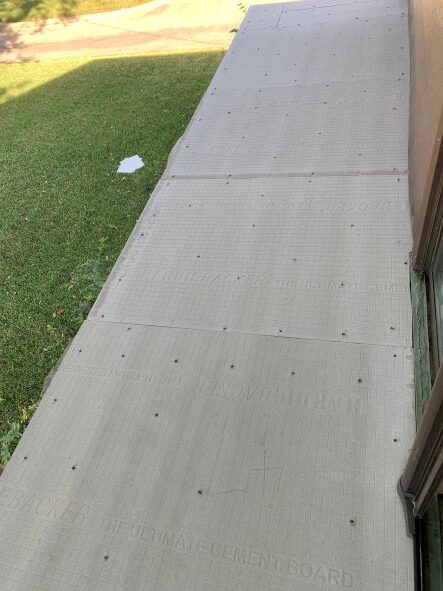
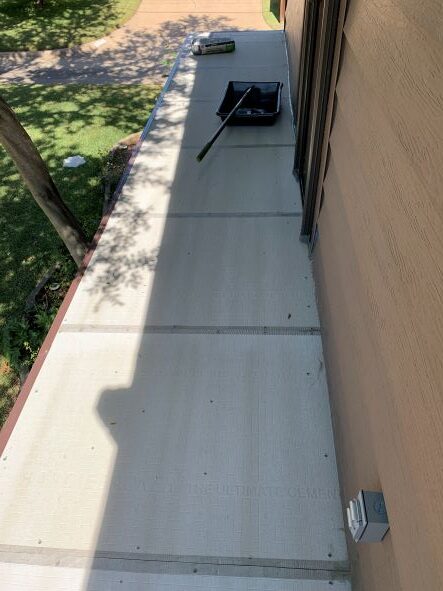
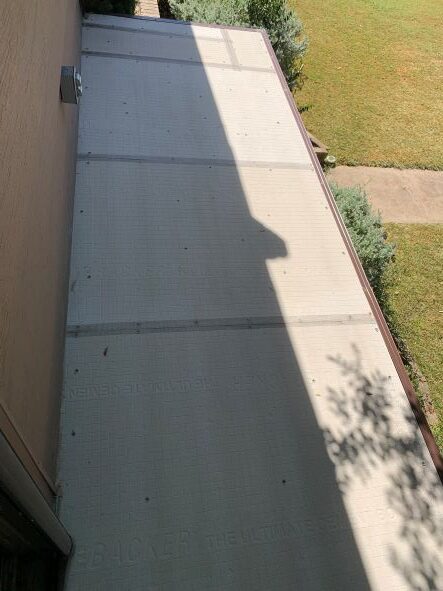
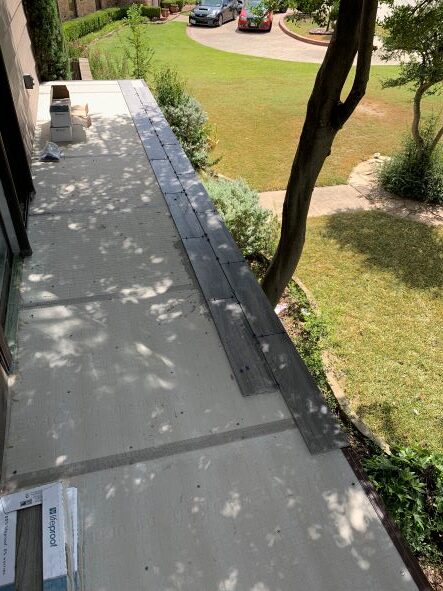
Next came the installation of new 3/4 in. treated plywood as a base, then 1/4 in. backer board. And then, a thick bead of clear silicone down the entire length of the patio against the house. I also ran it up the inside corners of the aluminum and door channel about 2 inches and all around the base of the sliding glass door threshold. Again the goal was to make sure no water was able to get thru, so any added precaution was worth it.
After this, we installed a drip edge all the way around the patio. There wasn’t one before, but this needed to be there to keep water from getting to the exposed wood and running back under as it had before. On the edges closest to the house, the drip edge was not long enough due to the built up slope, so we took a few scraps and bent them straight to place under it so in the end, there is a complete water tight seal all the way around the edges with no visible plywood or access for water to get under the new sheeting.
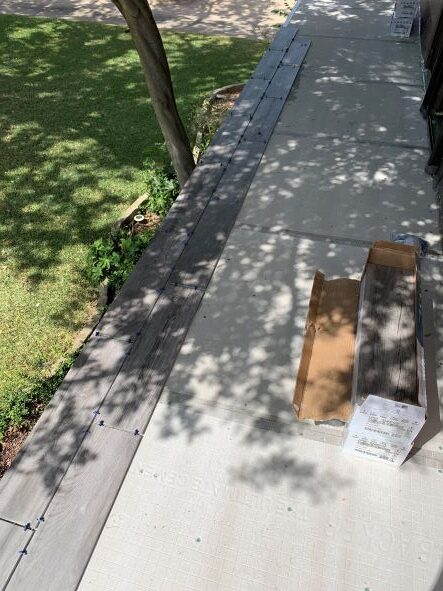
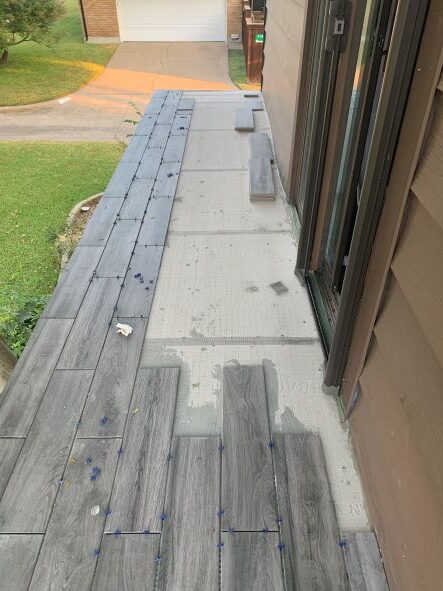
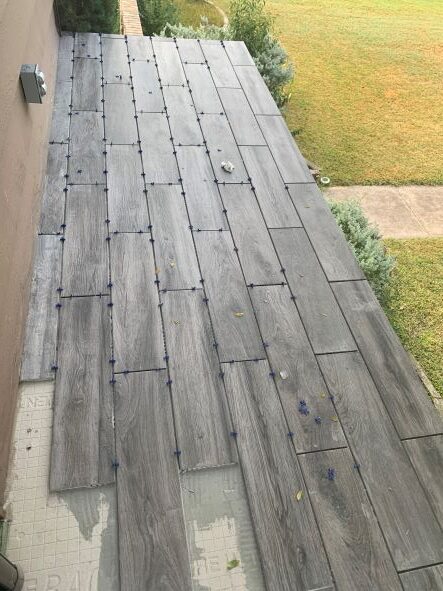
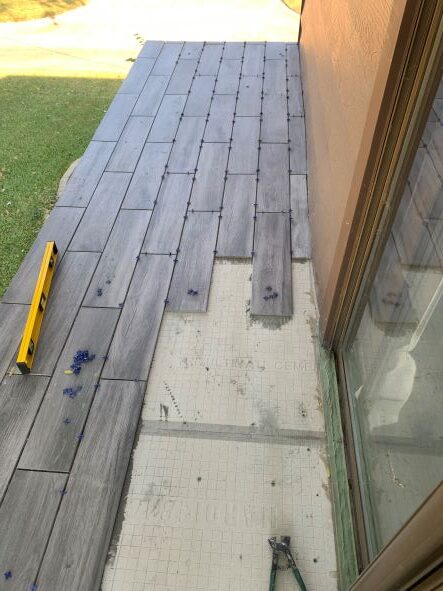
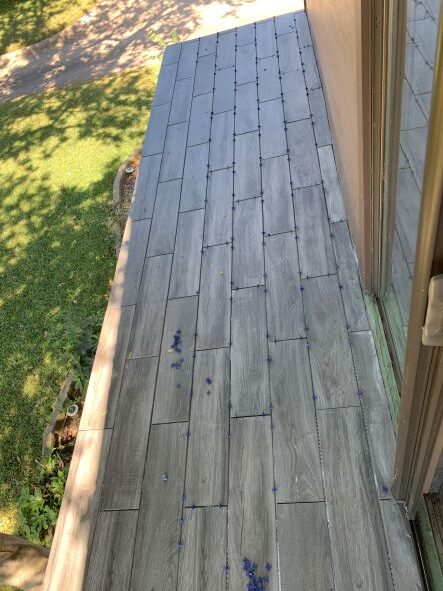
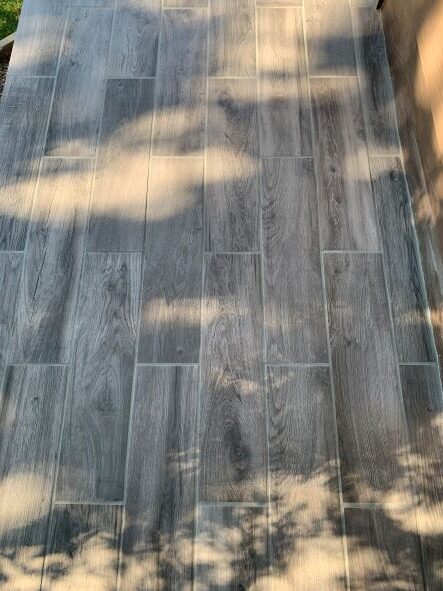
The next step was the tile work. I measured out to get an exact measurement lengthwise and divided that in half to get my center point. The tiles he wanted were a wood look, 6×24 in tile, so I got the center point of one, and then started in the center on the side away from the house. I staggered the tile so the pattern would be offset every other row and worked my way down the entire edge with two rows of tile to start. This would allow me to have a good line to work with and I would be able to work my way back in toward the door from both sides.
I measured out for the cut pieces, and while my husband worked on the cut tiles (and, we dealt with issues such as my busted tile saw, damaged from being in my checked bag I assume..so one of many trips to the store to get a new tile saw), I worked on installing the whole tiles, then fit in the cut ones as they were ready.
After all the tiles were installed, I used a grey sanded grout that was exterior grade and had additives for waterproofing and stain proofing included (no grout sealer needed). Of course with grout, you have to work in small sections, then wipe down often, but in the 90 degree Texas sun, the sections were smaller, which meant smaller batches of grout, more trips up and downstairs to clean materials, get clean water, then mix more grout, then repeat….A LOT!
It did take longer than I anticipated to finish, but there’s always unexpected things that come up when working on a reno project, especially when you’re out of town and can’t just run to the garage to grab what you need In the end, the patio looks sooo much better and has a slope to keep water away from the hosue, and feels solid to walk on! So, all goals accomplished with this project!!
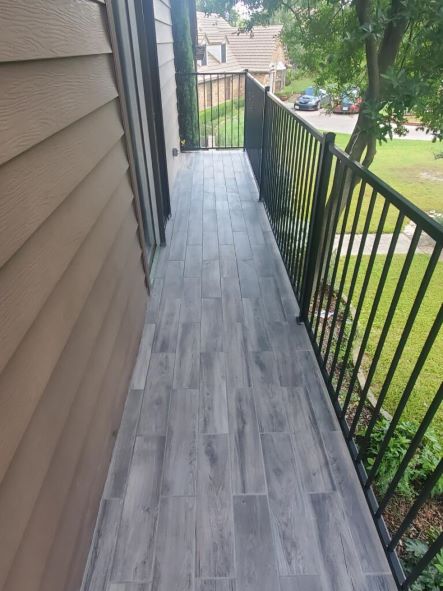
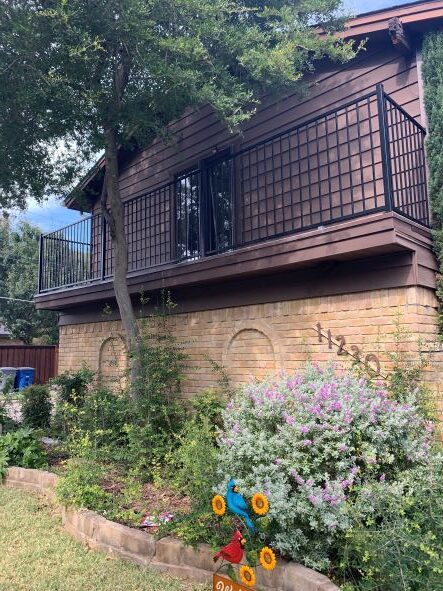
I didn’t get a finished picture from the top with the railing re-installed, but I did remember to take this on our way out to the airport. The drip edge still needs wiped off, but is a much better look than the rotten green coated plywood that was there before! ***EDIT – my brother sent me a picture from the top with the railing in place!***

